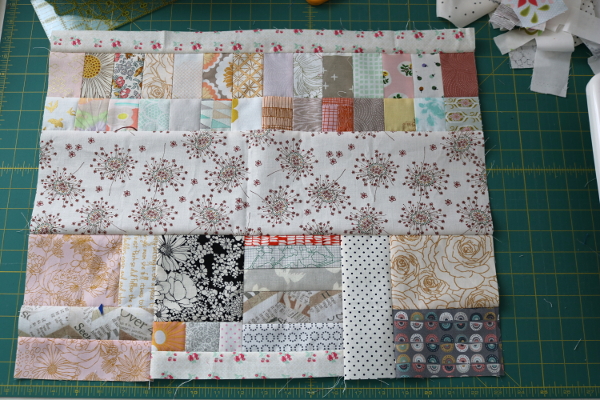
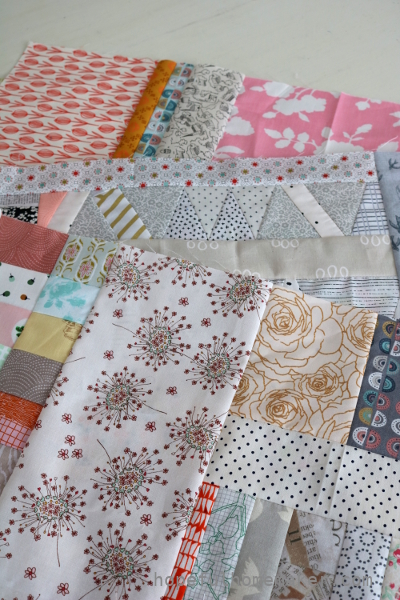
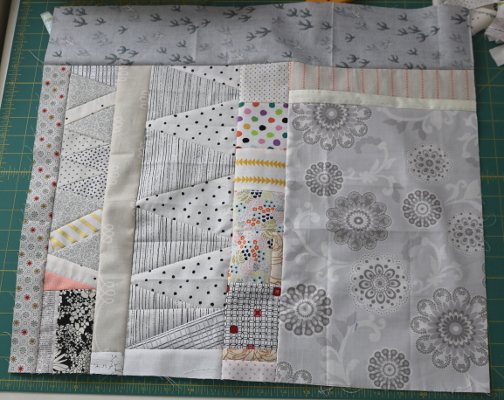
Prosper Christmas Quilt Top
I set a goal last year to make more Christmas quilts. In my mind I picture my family curled up with festive quilts as they watch our favorite holiday movies. I also picture a Christmas quilt on every bed… doesn’t that sound wonderful? The trick is, I have eight children, which adds up to a lot of beds and a lot of quilts. It may take me a few years to reach it, but I’m working on some holiday quilts and this is one of them. Meet my Prosper Christmas quilt top.
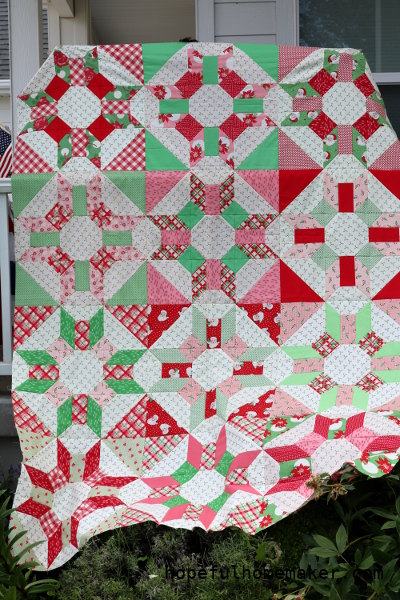
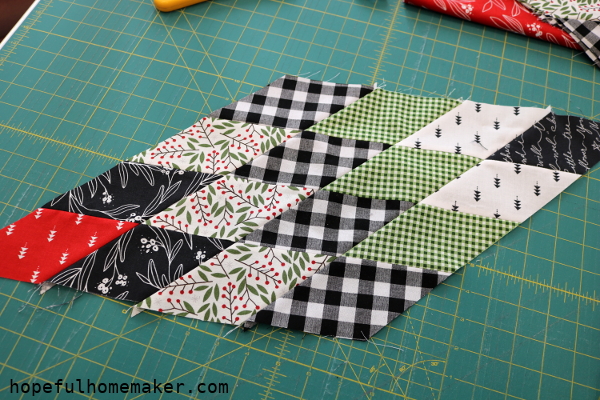
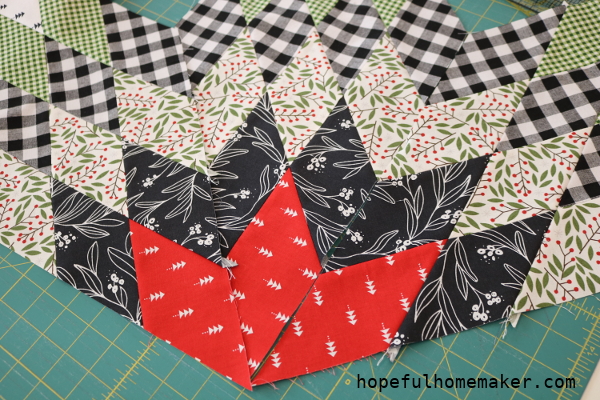
Made using my Prosper Quilt pattern , this bright and cheery version has a completely different feel compared to my recent one using Conservatory fabrics .
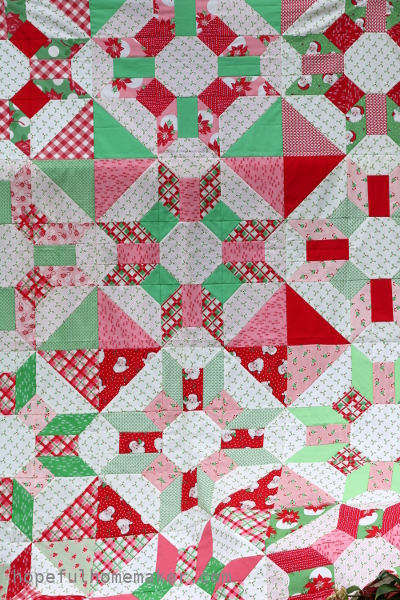
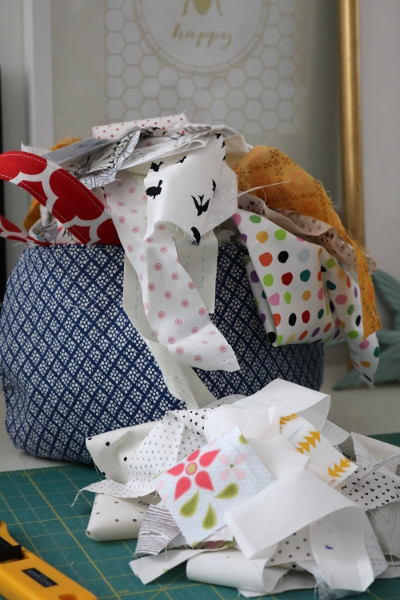
Most of the fabrics in this quilt come from the Swell Christmas collection by Urban Chicks for Moda. I added in some pieces from the original Swell collection that inspired this one, leftover solids from my Peppermint quilt , and prints from a few other designers.
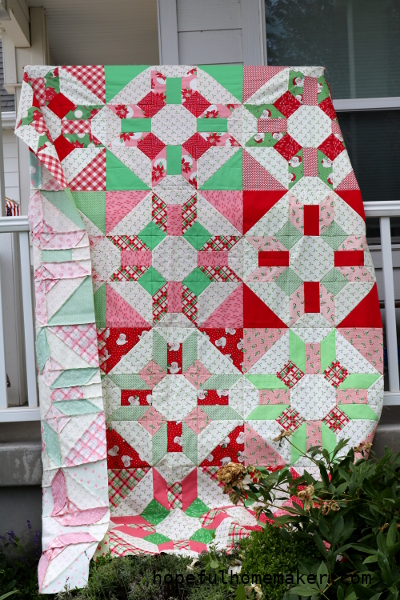
I will probably quilt this one myself, but I’m not sure how I want to do it. Any suggestions? When I finished this it seemed like Christmas was so far away, but now that it’s October I need to make it happen. This is a quilt I can’t wait to use!