While I know this is of no real importance in life, this week I had a little fun by changing some minor things in my living room. For the most part I just shopped my house, but I also added a couple of new little things. The final product is one I’m really pleased with. For the first time in my life, I don’t want to change anything in a room.
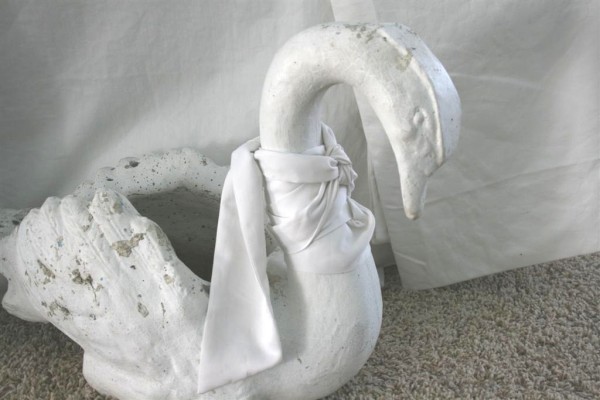
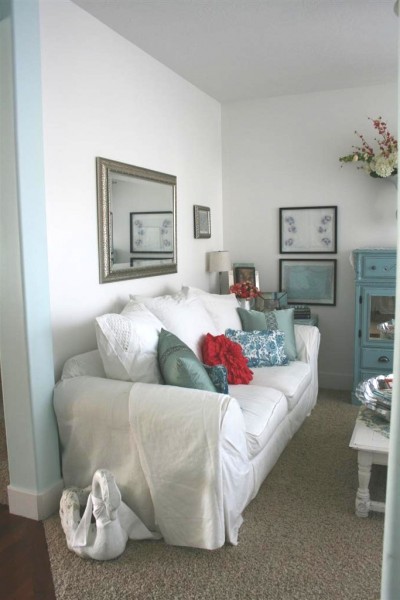
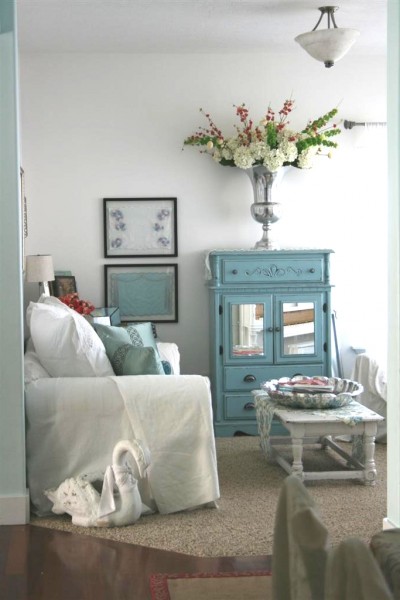
My vintage cement swan planter stands at the edge of the room. I spotted this a couple of years ago in a local shop and just loved the graceful lines of it. I haunted the store, hoping it wouldn’t sell, until I’d saved enough money to buy it.
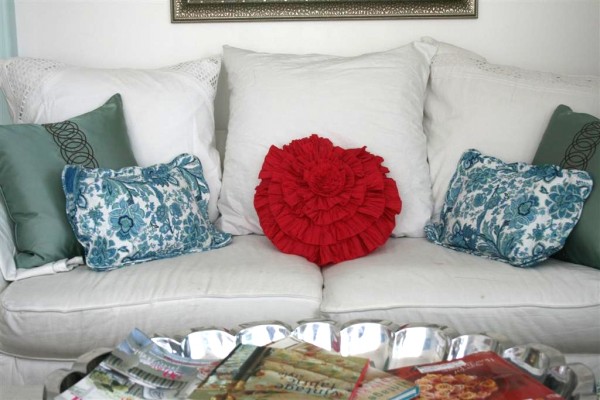
The couch is my old living room couch which is now 8 years old. When we moved into our house, I took a deep breath and some scissors and made a white slipcover for it. I put the cushions that were made for the back of the couch in the basement and instead used three large down pillows covered with vintage white shams. Doing that gave it new life. This week I also gave it new accent pillows.

The flowered pillows I made , and the pink ruffle pillow I added because I decided I wanted a dash of bright pink to go along with the robin’s egg blue and white scheme of the room. I also added a flowered fabric from my stash to the coffee table.
To the right of the couch, I used to have a small white table. It was a little too short, so I swapped it out and moved these two antique tables in. They truly are gorgeous. I LOVE the paint and the detail on them. I think they’re one of my top three favorite vintage pieces I own.
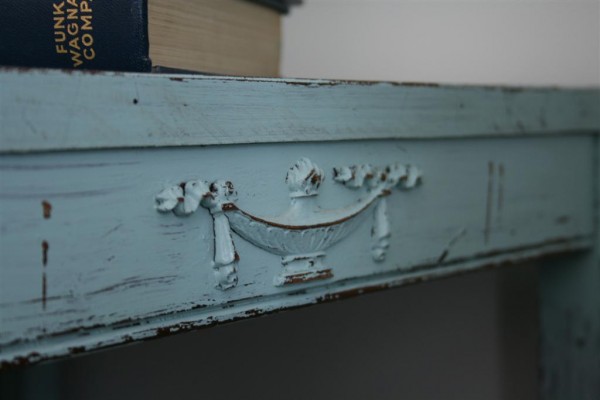
I would really like to use these tables in some amazing spot, but the fact of the matter is that they don’t stand a chance around my kids. I’d give them less than 24 hours to be broken. They’re not poorly built, just fragile in design. Therefore, they must stay in a corner for a while longer.
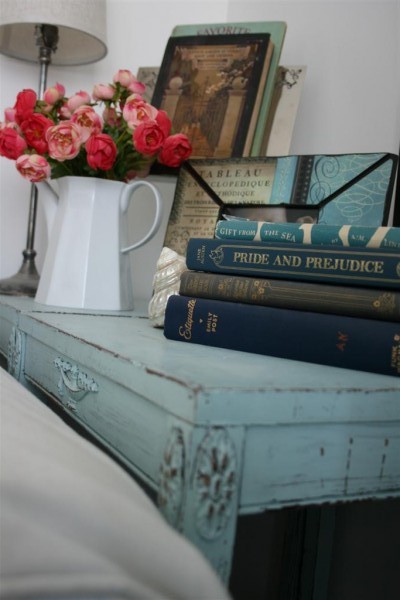
They actually look nice in this corner. Their height is better than what I previously had, and their color matches the theme of the room. I added a stack of some favorite books (which just happened to also be blue), a couple of my favorite vintage childrens picture books and a pitcher of flowers. I like that corner much better now.
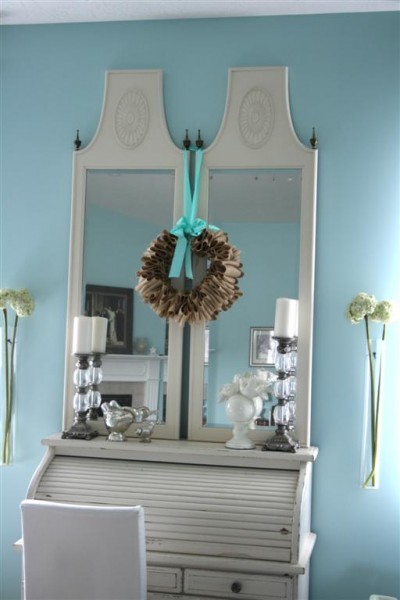
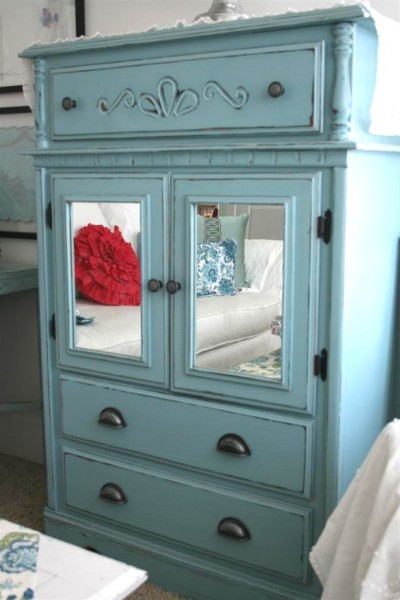
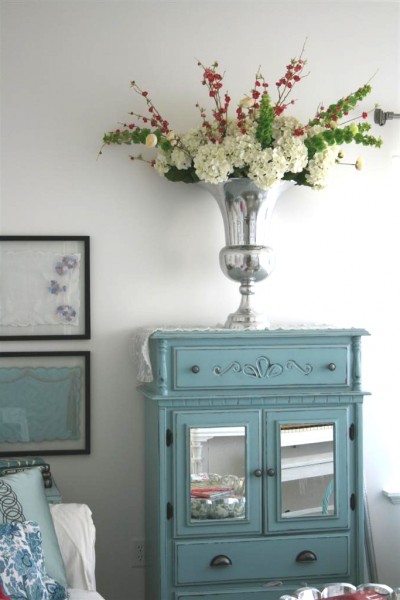
This room also houses my favorite piece of furniture, an old dresser that has been refinished and had mirrors added.
Above it sits one of my favorite metal pieces, a huge urn filled with artificial flowers. I love the drama and formality it adds to the room.
Next to it, and above the antique blue tables I have framed some of my favorite Marghab linens. First, the cord and tassel pattern which takes my breath away when I consider that someone did every one of the stitches by hand. This same design is one of the three Vera Marghab designs that is in the Smithsonian. I also have the hydrangea pattern hanging below it.
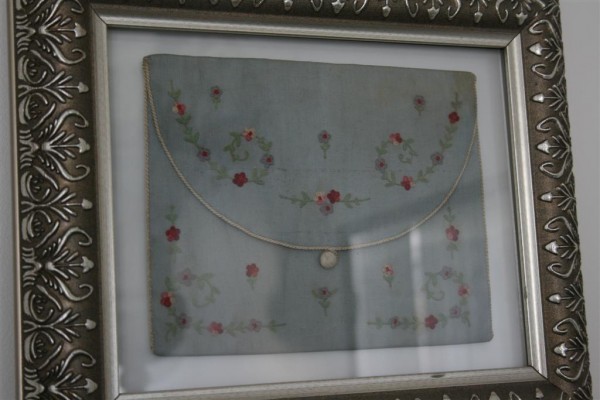
On the adjacent wall I hung a small vintage blue silk purse which has hand embroidered flowers on it.
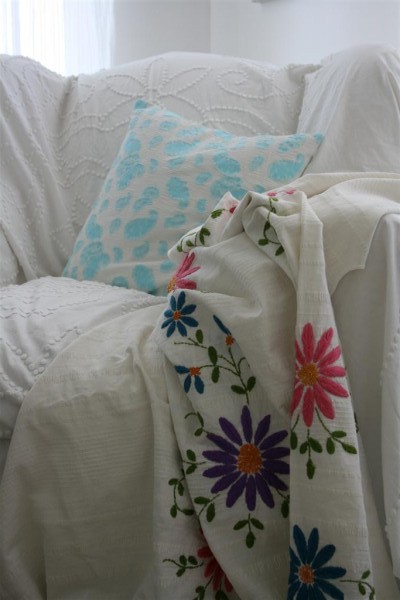
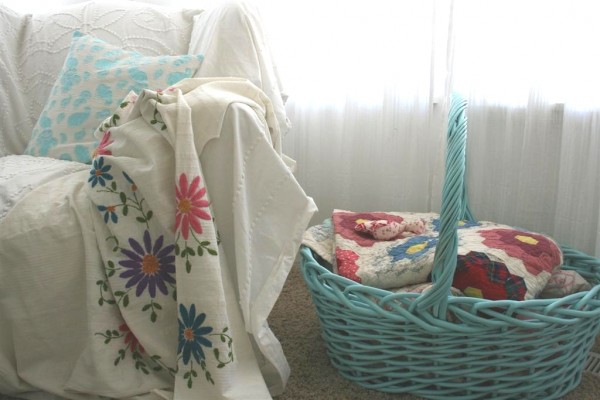
On the rocking chair I tossed a white vintage coverlet, my favorite pillow which I made from vintage turquoise and white fabric, and a fabulous old coverlet embroidered with huge flowers on it. I’ve had the coverlet for years and wondered where to use it. It just found it’s home, I think.
Next to the chair is an enormous basket I picked up at the thrift store for $1.00. I spray painted it aqua for fun and filled it with vintage quilts.
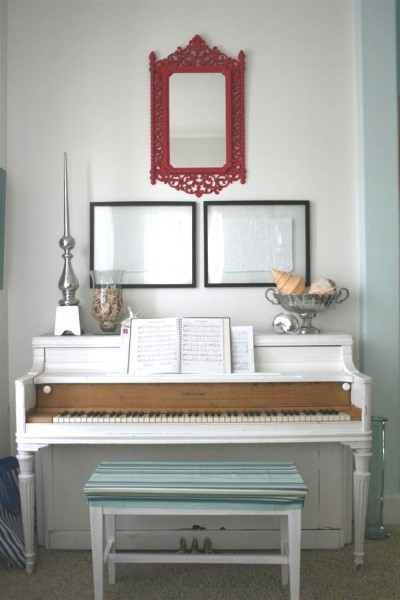
On a whim, I sewed a little cover for the piano bench, just to bring the blue into that corner of the room. I chose stripes because they would make that corner less formal. I also swapped out a white mirror for a large blue frame holding a photo of two of my girls years ago at the beach. Two more Marghab pieces, both Jacaranda tree patterns, hang above the piano.
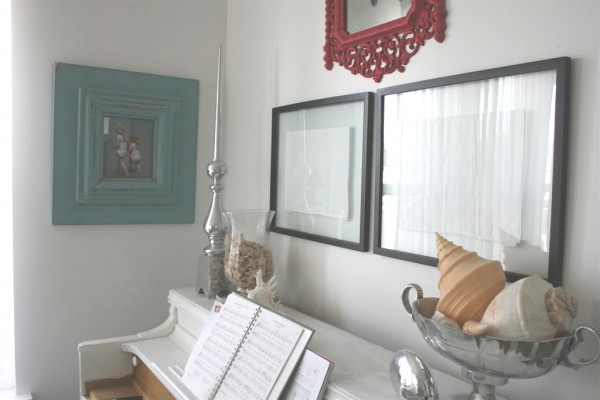
Lastly, I hung the mirror that I painted a bright pink . It might be my favorite piece in the room because it makes me want to laugh when I see it. So formal and yet poking fun at its formality through its color.

The entire wall now looks like this. I really like it. Symmetrical but not stiff.
I have always enjoyed studying interior design. I feel like I did pretty well in this space, using formal pieces alongside simple ones, mixing old with new, and using color and pattern in a way that pleases me. I love the added pops of color that the pink offers. I also love that this room is really just “me.” It holds so many of my favorite pieces, from the tables to the linens to the swan. And because I’ve always bristled at the idea of my house looking like it came from any particular store, I love this room because it’s completely original.
A super fun exercise in creativity, and it yielded a lovely room. Now for a good book and a bit of quiet.

Have a lovely day!
Jennifer
