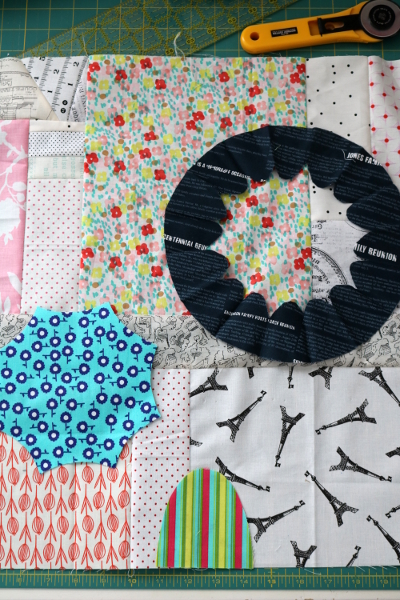
Sisterhood Block Swap

To celebrate International Women’s Day last March, Berene (the genius behind Happy Sew Lucky Shop on Etsy) released a Sisterhood Block and organized an international swap.  I wanted to swap with friends, so eight of us organized our own Sisterhood block swap.


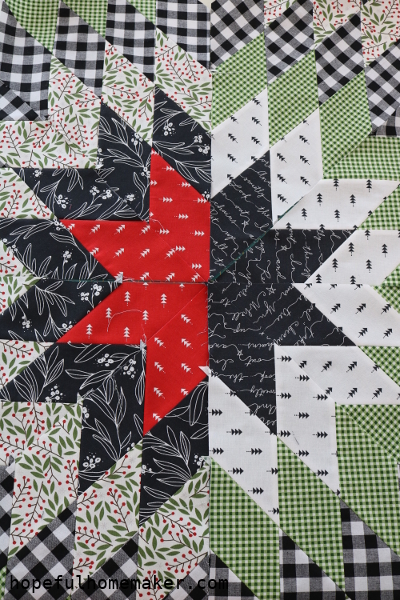
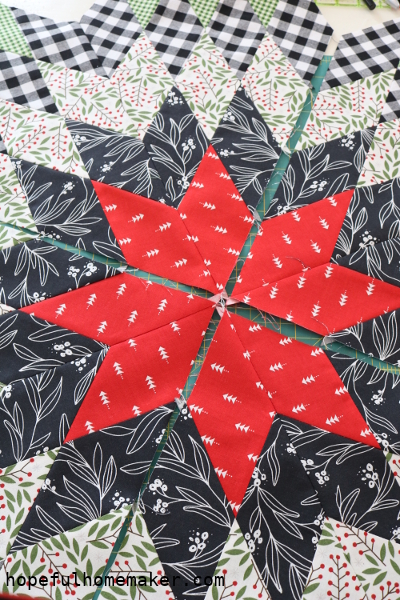
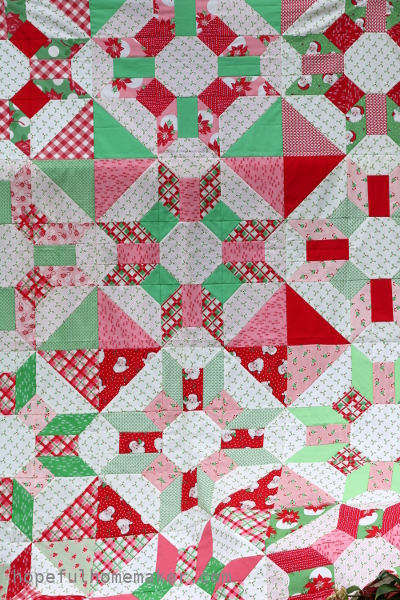
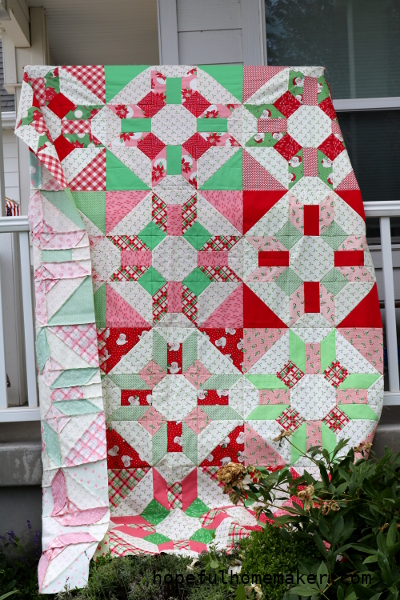
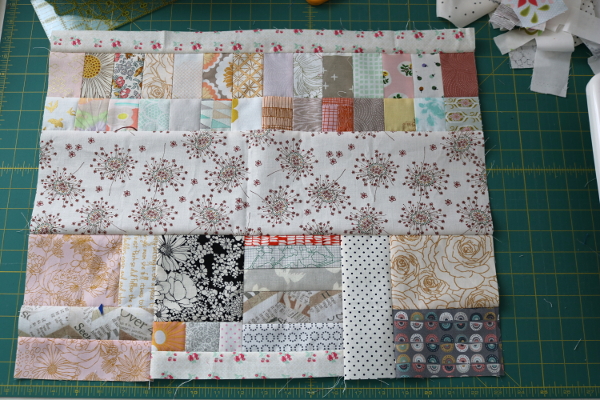
We started with several ideas for guidelines and I made the block above as a test block.  It was easier and faster than I expected.  We made the 16″ block, and each person made one of the triangular wedge sections for the block.  I discovered when printing the pattern that pieces for both left and right wedges print on one paper, so we printed 8 copies of the pattern to save paper and waste less.  I cut and clipped the sections together and distributed them to everyone.  When we swapped as a group, our only requirement was that the dress be Liberty tana lawn.


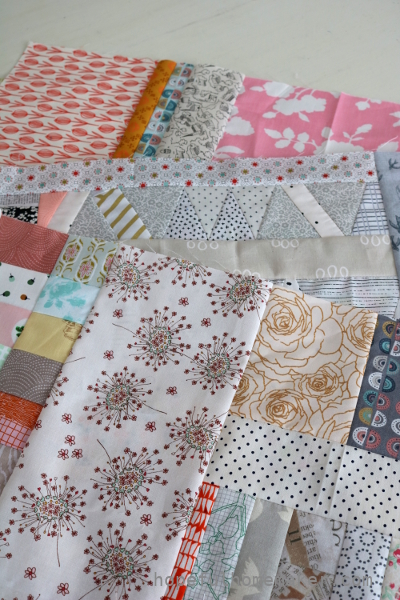
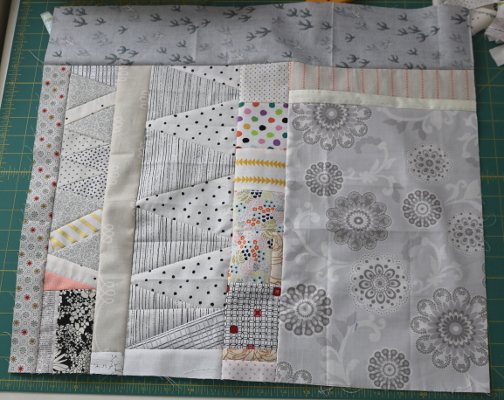
Each of us made eight of the same section with low volume backgrounds and when we swapped them I couldn’t wait to see how they looked together.  I sewed my block together immediately.  The Liberty dresses are beautiful!


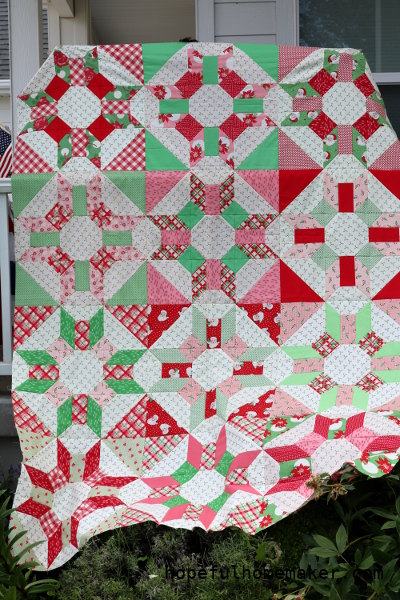
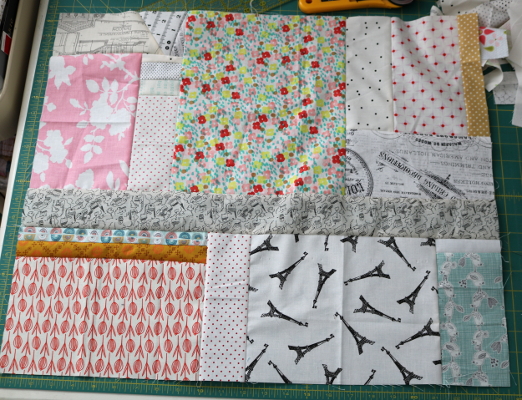
My test block also came together with bright colors and a fun pinwheel pattern in the center.


I like both blocks, but my favorite is the one on the left.  It represents our group of eight women who sew together every month, but our friendships encompass much more than sewing.  This block represents strength, unity, support and kindness. I have been so blessed by this group.


I plan to make our Sisterhood swap block into a mini quilt for hanging in my studio but I have no idea what to do with the test block.  Any suggestions?


This pattern is a great way to celebrate friendship.  It’s well written and easy to follow.  I highly recommend it!

Botanics Quilt

Almost three years ago I finished my first quilt top using a Carolyn Friedlander pattern.  Since then I’ve made six more quilt tops using her patterns, and four smaller projects.  I can’t think of another designer whose patterns have interested me as much as hers.  With all that stitching (most of it needle turn applique) I haven’t had a finished quilt from one of those patterns.  Until now.  Meet my finished Botanics quilt!


I did the quilting myself on my Juki TL-2010q sewing machine.  I’ve had the machine for over a year now and still love it.  I saved these quilt tops because I want amazing quilting on them, but never paid anyone to do it.  Finally I studied lots of photos and did it myself.  After all, I bought this machine so I could quilt my own quilts more easily.  How will I ever improve if I don’t just do it?


I decided to do the inner white panel like so many others have with this pattern.  I quilted lots of different freehand “straight” lines in small quadrants for texture.  There is no quilting on any of the applique pieces.  This makes them stand out really well.


The first border I struggled with.  I studied other options but didn’t feel confident.  Then I looked at the applique and thought how much I love those navy blue leaves and an idea struck.  I could quilt that shape into the border!


I quilted the shape and filled in the rest of the border with pebble quilting.  Later I went back with a green 12 wt thread and hand stitched inside them to help them stand out more.  I was worried they would be totally lost.


I learned instead that this style of quilting, and these fabric prints as well, are very forgiving and the mistakes add to the overall charm and texture of the quilt instead of looking like mistakes.


For the backing I chose a white pattern with orange stars.  It perfectly compliments the quilting and the colors in the applique.  Straight lines in the orange border finish the quilt.


I felt satisfaction and accomplishment in finishing my Botanics Quilt.  In fact, it gave me courage to start a much bigger and more intimidating project:  quilting my Light quilt .  I am glad I found “ten seconds of courage” to start!

Lone Star Tree Skirt Sew Along: Selecting Fabrics

With the Lone Star Tree Skirt Sew Along kicking off officially next Monday, today is a great day to talk about selecting your fabrics for the tree skirt.  In the video I shared my fabric pull for my tree skirt as well as thoughts about lone star fabric choices based on other lone stars I’ve made.

NOTE: If you can’t see the video, try turning off your ad blocker.

If you haven’t done it yet, purchase your pattern here .


I neglected to mention in the video that the pattern includes a coloring page.  Use it to help you plan your lone star.


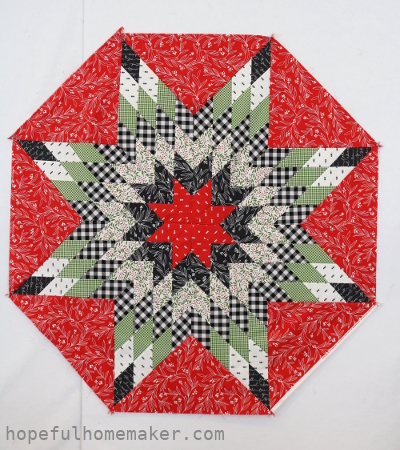
I chose a traditional color scheme with some black and white thrown in for my tree skirt.  All the fabrics I have are half yard cuts so I can move them around and see what order I like best.  At this point my tree skirt will feature the prints you see above, with the red mistletoe print as background and the others for the star.

I hope you’re having a great time choosing your fabrics.  We’ve got one more week before we cut and sew.  Tag your posts with #hopefulhomemaker and #lonestartreeskirt on social media so we can all follow along.

I created a Lone Star Tree Skirt Sew Along page for your convenience, where you will find links to every post.  I’ll see you back here next week to start things off!

Happy Sewing!
-Jennifer   Credits for Music: For as long as I remember by Malena Stark on Epidemic Sound

1 57 58 59 60 61 215