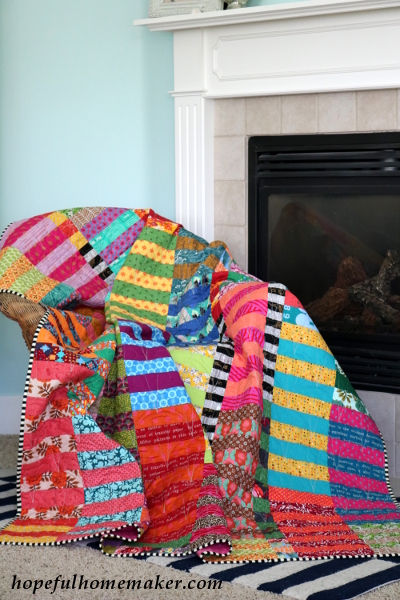
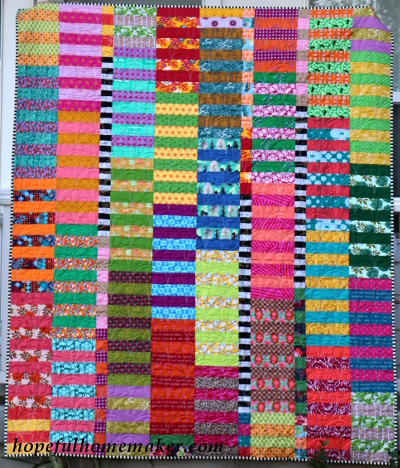
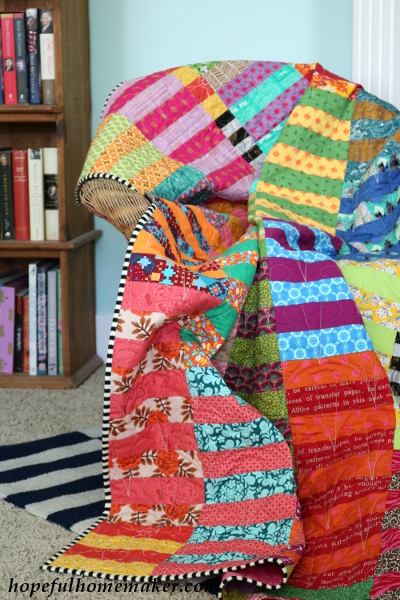
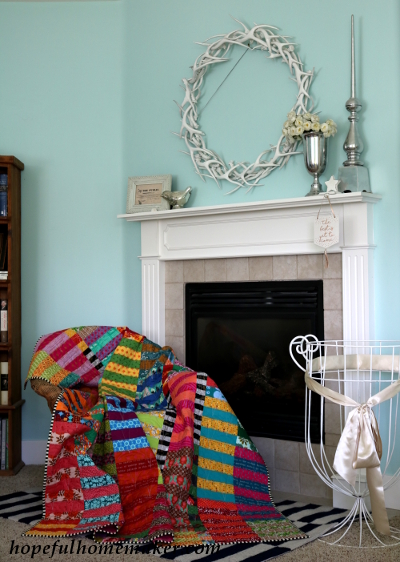
Allow me to introduce you to my traveling quilt. I almost can’t believe it’s mine. I only made a small part of it, and then it spent more than a year traveling among my friends. Now it’s back and all I can think is that I’d like for you to meet my quilt!
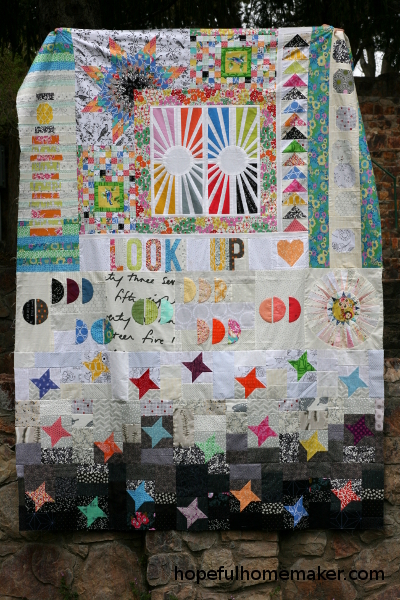
Muriel Rukeyser said, “The world is not made of atoms. It is made of stories.” I want to say of this project, “The quilt is not made of fabric. It is made of stories.” To truly introduce you to my quilt, I would have to introduce you to my friends. They are remarkable women. A lot happens in 14 months. As the seven of us sewed we lived and worked and changed. Some children started school, some left home. The blessing of this project is that I now have a piece of these amazing women in a quilt that I will always treasure.
I have a friend – several, actually – that I wouldn’t have if it weren’t for quilting. It happens to all of us: an interest leads to a path and to friendships with people we wouldn’t otherwise know. People we can’t imagine not knowing. I love that life gives us this gift. One such friend of mine also happens to love collaborative sewing projects. With a push from her, a small group of us began a traveling quilt project.
What is a traveling quilt?
A traveling quilt is a quilt project that is passed through a group of quilters, with each member of the group taking a turn to contribute to the project.
We each started 2017 with a quilt block and a theme. We made our own starting block, gathered a few fabrics and wrote down our theme, and then began 14 months of sewing and passing the growing quilts until all of us had contributed to each person’s quilt top.
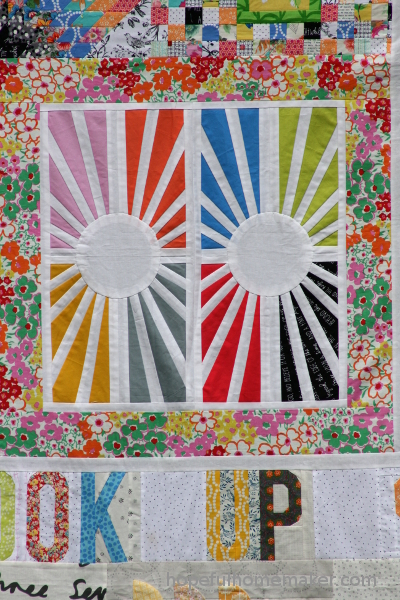
My theme was light. My starting block was two blocks from Carolyn Friedlander’s Facing East pattern, found in her book Savor Each Stitch . I added a floral border to my blocks, put it in a bag with a stack of fabric I loved, and wrote this:
“I am thinking about light; all the effects of light, of contrasts between light and dark, of what grows with light, of the colors of sunrise and sunset. Consider the light of happiness and the act of seeking light. For this project, explore light.”
Then I sent it off to travel from one sewing table to another.
How did the quilt grow?
I received the finished quilt top this year and I’m in awe of the beautiful work my friends did to capture their thoughts about light.
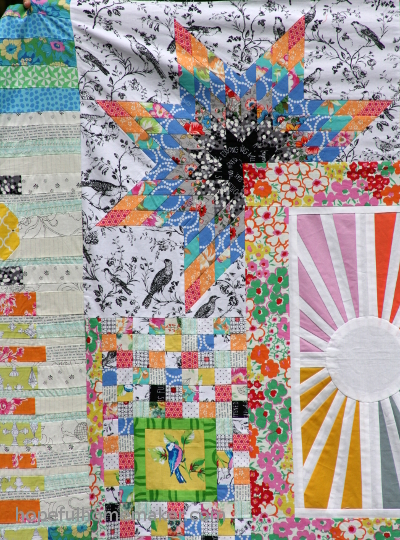
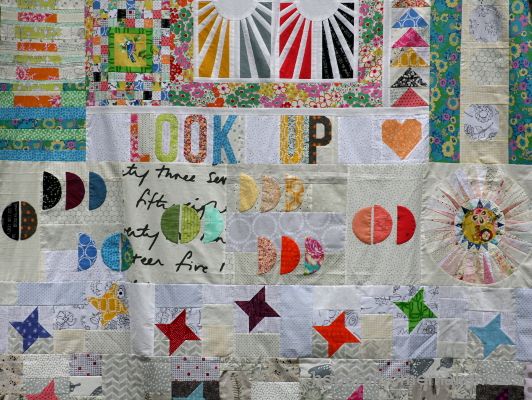
JoyLyn chose to focus on the lyrics to a hymn, “Oh how lovely was the morning, radiant beamed the sun above… bees humming, sweet birds singing…” She added songbirds and a beautiful lone star in the corner.
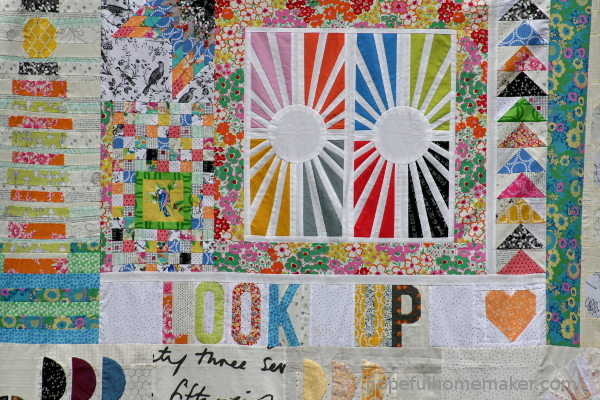
Anna added words: LOOK UP. A reminder to look up to the source of all light. The heart represents the love God has for all of us, and a row of flying geese point the way up.
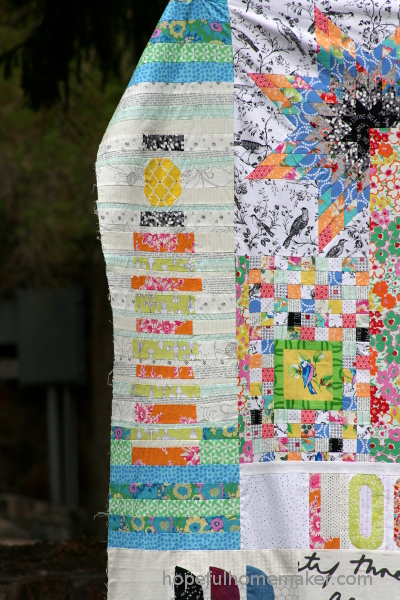
Kristin added a light house with lines, a reminder that we learn and grow a little at a time, line up on line. And the light house to honor the special times my family has at the beach.
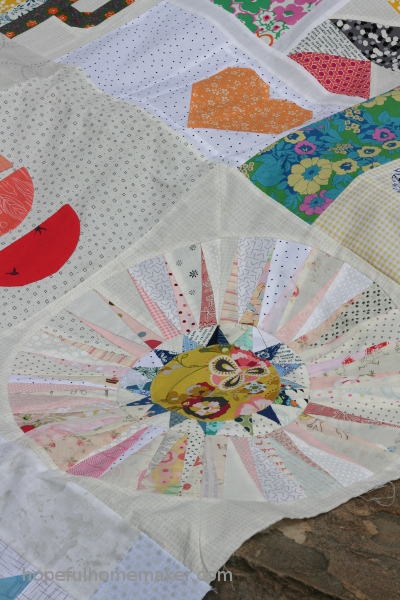
Pam added a beautiful New York beauty block plus a strip of low volume snowball blocks that remind me of both the phases of the moon and the awe-inspiring solar eclipse of 2017.
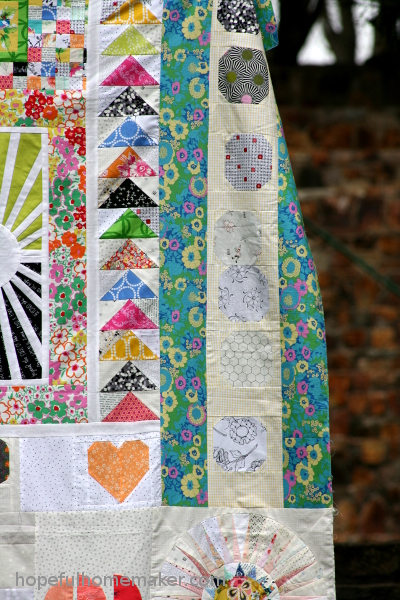
Jennifer added half circle applique blocks, a continuation of the eclipse and moon themes. They also remind me of the crescent-shaped shadows during the eclipse, which I loved.
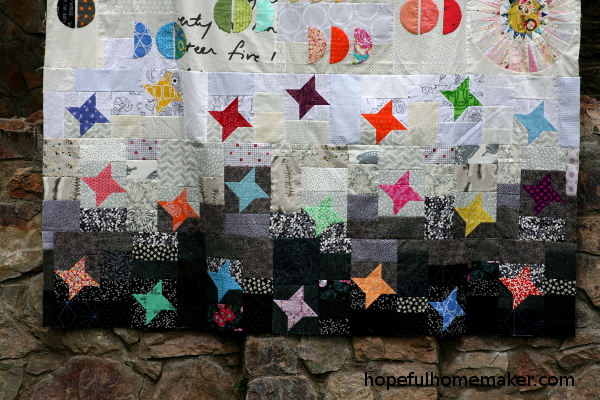
Jill had the quilt during winter months when she craved more light. She found herself pondering the creation of the earth, and added this large section at the bottom that moves from darkness up into light.
We all decided to trust each other at the outset. We let go of the final outcome and believed our friends would do something beautiful. My quilt evolved in ways I would never have thought of.
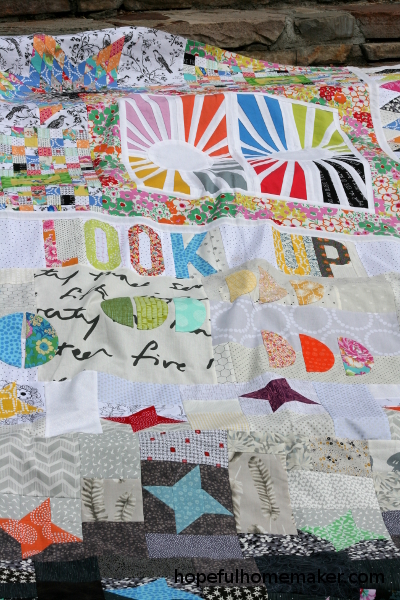
I couldn’t be happier with it. I look at it, and I see the light of friendship. A reminder to look up!
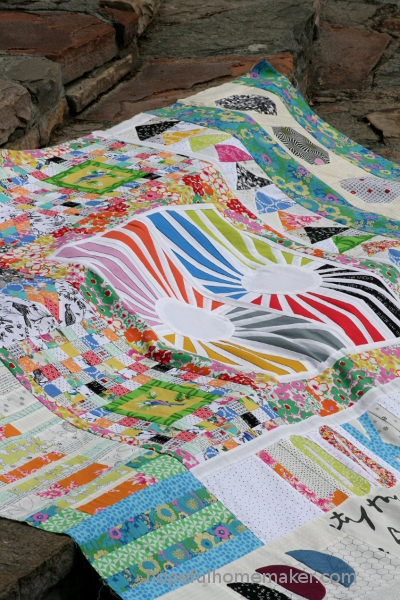
I see my friends, each of us in various stages of unique lives. It is a gift to have a lovely quilt top to remind me of them.
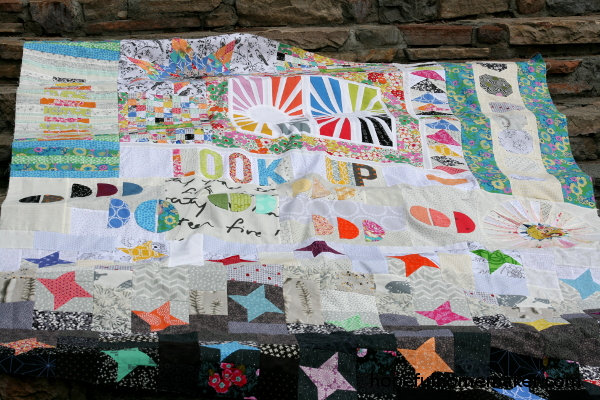
How to start your own:
If you have a group of sewing friends and you’ve never made a traveling quilt, do it! You will push yourself, improve friendships, and end up with a quilt that reminds you of them.
Choose a group of quilters you know and invite them to participate. Make sure everyone is committed to seeing the project through to completion, and let everyone be honest about their time constraints or real-life burdens. Decide when you will start, and decide how much time will be allowed for each rotation. In our group, we had two months to finish. Decide how you will trade the quilts. For my group, we met together for a sewing night and did it then.
This project takes a lot of trust, and it also requires grace. There were months when things didn’t go as planned and someone fell behind. In our group, the friendship mattered more than the project, so we were patient with each other and everyone caught up. We also decided in advance that we were open to whatever the group members did. If we had strong feelings about a few things, we wrote them down to be passed along with the project.
In all, I loved the experience and I would happily do it again – even with the same people. It is exciting to see the directions a project takes when you put it in someone else’s hands to add to it in their way.
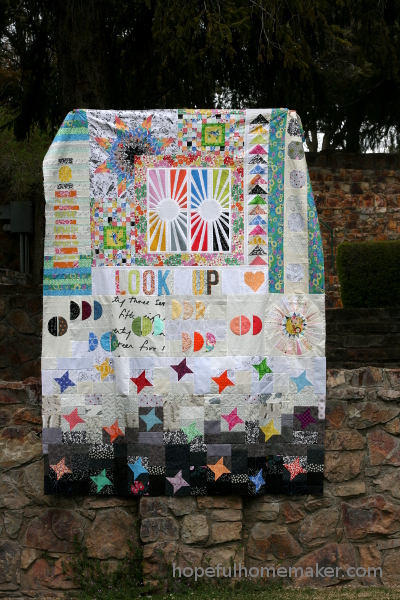
And there you have it, “Light,” my traveling quilt. Wherever you are, whatever circumstances you are in, remember to look up. There is light and goodness and happiness ahead. You are going to make it!
