“Spoon Rolls” Recipe Review

I saw this recipe in the April 2010 issue of Country Living, and tried it within 24 hours.  The concept was too good to pass up.  Trisha Yearwood is coming out with a cookbook this month, and the story featured a handful of recipes from the book.  The one that caught my eye is called “Cousin Peggy’s Spoon Rolls.”
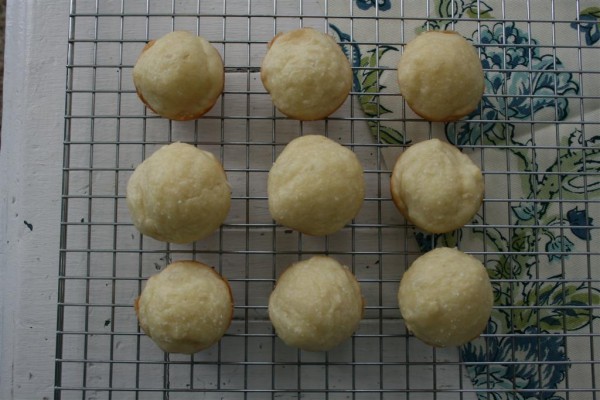
spoon rolls 1

It’s a winner.  I’ve made them three times now, and my family has loved them.   The reason I love them is because they take about 5 minutes to mix up.  Because I use SAF Instant Yeast, I was able to simplify the already simple recipe even more.

Here’s how I made them.

In a large mixing bowl, melt 1 1/2 sticks (3/4 cup) butter Add 1/4 cup sugar Mix together with hand mixer.

Add 1 egg and mix again.
Add 2 cups warm water and mix.

The recipe calls for 4 cups of flour.

I always use a quality bread flour (the best in my area is Roller Mills Turkey Flour) and add the flour one cup at a time, mixing after each cup.

With the second cup of flour, I also poured in 1/2 Tablespoon yeast.  Mix well.  (This is my only change to the basic recipe.  SAF yeast doesn’t have to be proofed in the warm water, so I can throw it in with the dry ingredients.  If you’re using active dry yeast, you need one packet (1/4 ounce) and you can add it to the 2 cups warm water before you begin mixing other ingredients.  If you want to learn more about SAF Instant Yeast, read here .)

Add the last 2 cups of flour and mix until smooth.

This is where it gets easy!

Transfer dough to a greased, airtight container and place in refrigerator to rise.
Refrigerate overnight or up to three days.  If it gets watery (mine hasn’t) you can add a bit more flour.
Remove from refrigerator and spoon dough into well-greased miniature muffin tins.  You really don’t have to do anything but spoon the dough out.  The recipe says it makes 5 dozen miniature rolls, but mine seemed to fill 4 dozen so I just went with that.
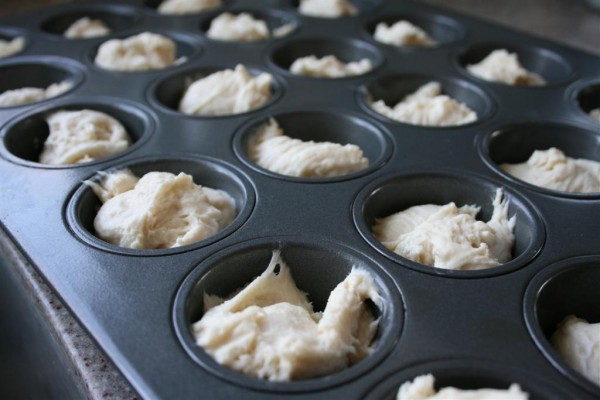
roll dough

Now transfer to a preheated 350 degree oven and bake for 18 minutes.

Remove from oven and brush with melted butter, sprinkling a pinch of kosher salt on each roll.  This is my personal addition.  I like to do this on all my roll recipes.  The bit of salt seems to make people feel like they don’t need to load the roll with butter or other things.
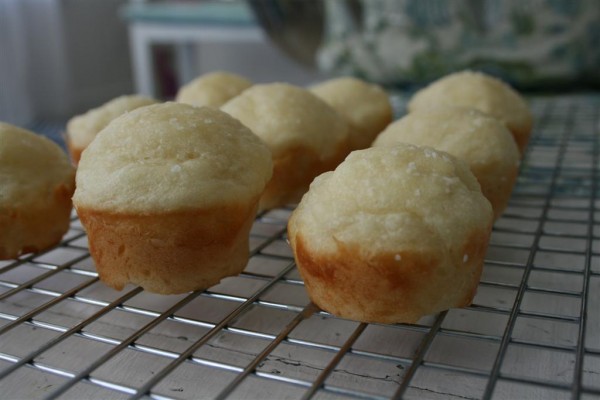
miniature rolls

I’ve shared these rolls with my family and a few friends and everyone loves them!  They have a wonderful texture and are simply delicious.
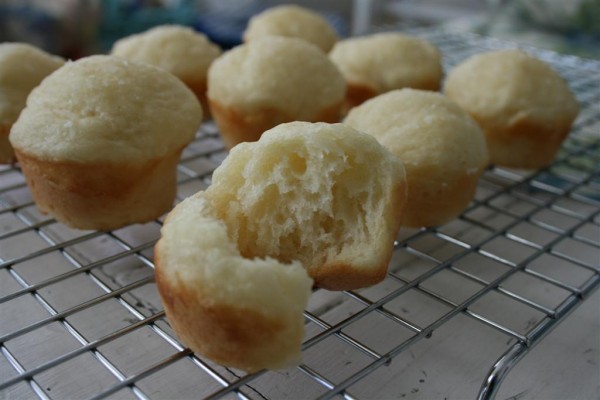
spoon rolls 2

The down side is that they’re more fattening because of the butter.  My traditional roll recipe doesn’t have butter in it.  I must say, though, that the ease of this recipe is fabulous.  It takes 5 minutes to mix it up, then you put it in the fridge until you want to make them.  When it’s time to make them, it takes about 5 minutes to grease and fill the muffin tins.  So simple.  I also like the concept of baking rolls in miniature muffin tins.  With little children, the size is perfect.  Even my husband, who usually skips the bread, ate a bunch of them.  They would also be the perfect roll to make into tiny sandwiches for a luncheon or a little girl’s tea party.  They make enough that my family all gets some, but we have no leftovers.  For a smaller family, this is a good recipe because you’re not going to end up with too much.

And because no bread recipe makes it into my recipe book unless it’s pretty versatile, I tried making these without refrigerating them.  I mixed the dough as described above, then covered the bowl and let it rise for 15 minutes (which is all that is required with SAF Yeast).  Then I spooned the dough into the muffin tins and baked it.  I did find that baking them this way meant a much shorter baking time because the dough was still warm when I put it in the oven instead of cold from the refrigerator.  So, this way I shortened  the baking time to about 10 minutes, or when there is just a hint of golden brown around the edges of the rolls.  This meant that I had fresh rolls, start to finish, in 35 minutes!  Now THAT is a roll recipe you can start in the middle of dinner preparations if you want to.  Cleanup is a breeze as well.

For perfection, just add homemade strawberry jam.
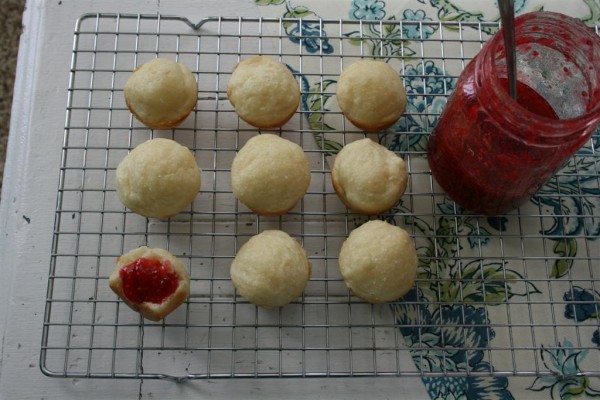
rolls with jam

Many thanks to Trisha Yearwood, cousin Peggy and Country Living  for sharing such a great recipe!  It’s a new family favorite around here.  I hope you’ll try them.  I’d love to hear what you think.

Bakerella’s Peach Crunch Cake

If you’ve never checked out Bakerella’s site , you need to.  So cute.
When she posted this recipe , I was intrigued.  It’s the peach cobbler recipe that so many people use, but with a couple of ingredients added to it.  Because I had all of them in my house, I decided to try it out.

peach crunch cake

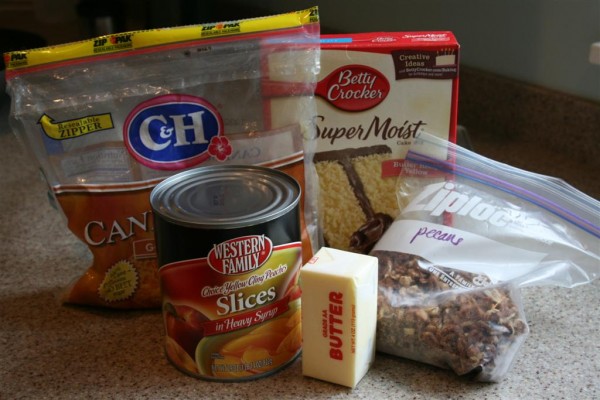
Ingredients:


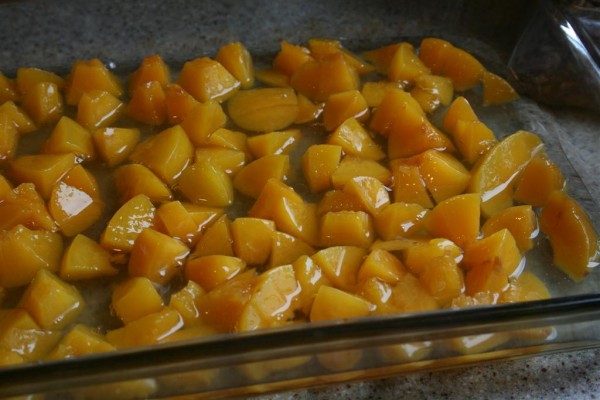
Start by pouring a can of sliced peaches (I used a 29 ounce can) into a 9×13 inch pan.  Don’t drain them!

sliced peaches

Cut them into bite sized pieces.


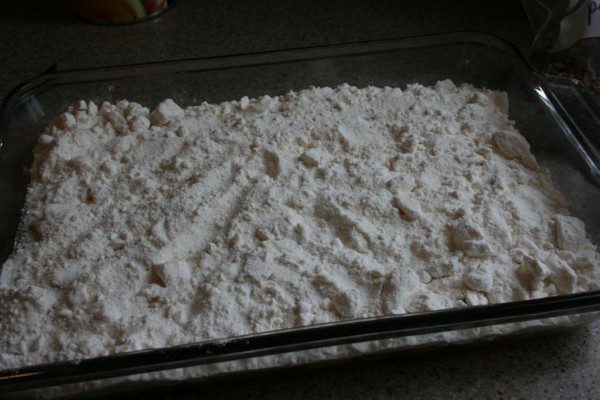
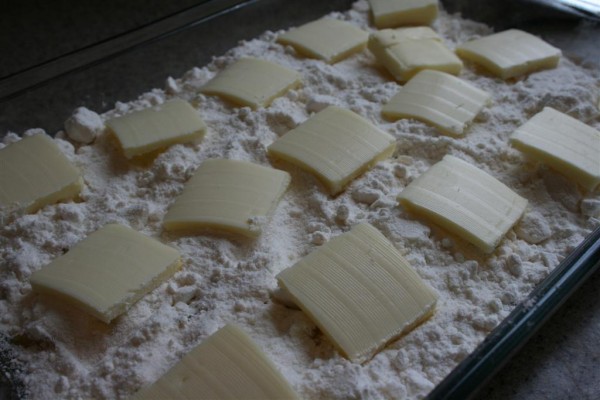
Sprinkle a box of yellow cake mix over the peaches.


Cut 1/4 cup of butter or margarine into little pats and place them on top of the cake mix.


I just have to pause here and say that at this point I had such a powerful memory hit me.  I felt like I was 10 years old again, and my mom had just handed me a cake mix, a can of cherry pie filling, and a stick of margarine and asked me to make dessert.  I felt like I’d been transported back to her kitchen, and I was standing at the end of the counter making dessert in the midst of a large family emptying the dishwasher, setting the table, and preparing the meal.  The dessert I made looked just like this.  Wow, memory is a powerful thing.

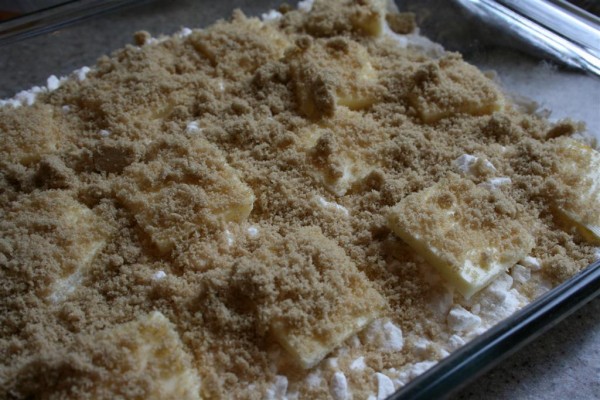
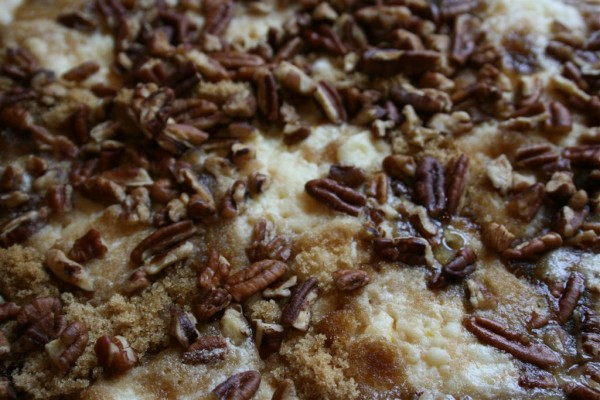
The last two steps in Bakerella’s recipe are what made me want to try it.  Next you sprinkle 1 cup of brown sugar over the butter.


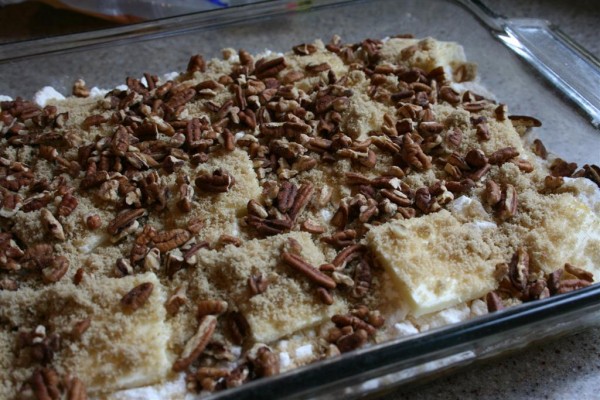
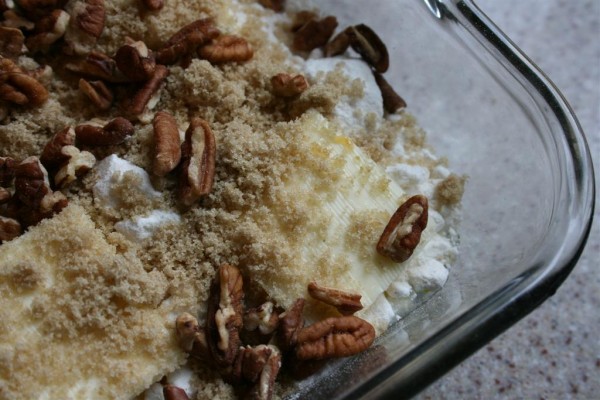
And finally, a cup of chopped nuts.  Bakerella used walnuts.  I used pecans.

peach crunch cake 2

Looks yummy!


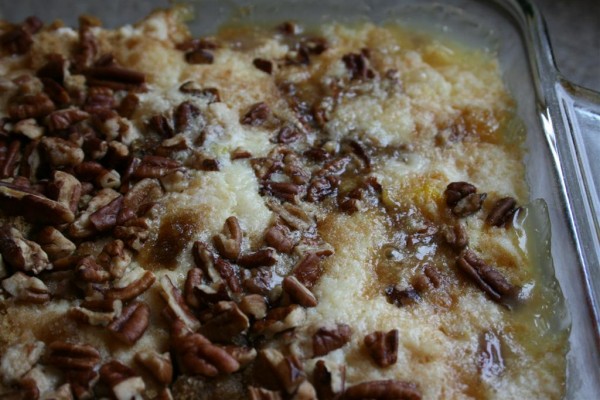
Bake at 350 degrees for 40 minutes.  Remove from the oven.  It should look something like this.

peach crunch cake 3

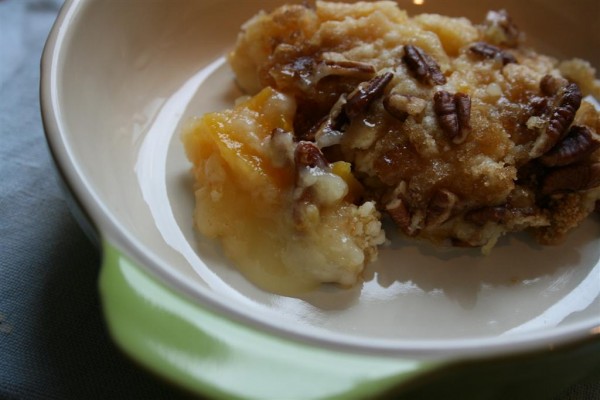
How did my family (and the extra 12 year old boys we had on hand) like this recipe?

pear crunch cake 4

Judging by the speed with which it disappeared, it’s a keeper!  Personally, I really liked the crunch that the nuts brought to a dessert I’ve eaten many times.  It added a layer of texture and flavor that I enjoyed.  Thanks Bakerella!

Lavender Shortbread Cookies

These lavender shortbread cookies are amazing.  Before I share the recipe with you, I must beg you to give lavender a try.  If you’ve never tasted it, this is the way to start.  If you’ve tasted it but think you don’t like it, this cookie is still something to try because it will probably change your mind.  They’re that good.


I must also say that this is the first recipe I’ve ever created that is so good I’m tempted not to share it.   My neighbor has dubbed them “Wedding Reception Cookies”… and guess what I’ll be making for his daughter’s wedding reception this summer.


I grow, harvest, and dry my own lavender .  If you don’t have any and don’t know where to get some, try your local health food store or order online.  Buy lavender that is suitable for culinary use.

Hopeful Homemaker’s Lavender Shortbread Cookies

1 cup (1/2 pound) unsalted butter, room temperature (do NOT substitute margarine!)

1/2 cup sugar

1 teaspoon vanilla

2 teaspoons dried or fresh lavender buds 2 cups flour

1/2 tsp. salt

In mixing bowl, beat butter until light and fluffy, and almost white in color.  Add sugar, lavender and vanilla.  Beat for 2 more minutes.  Sift flour and salt together and add to butter mixture.  Mix until flour is incorporated and dough is sticky.

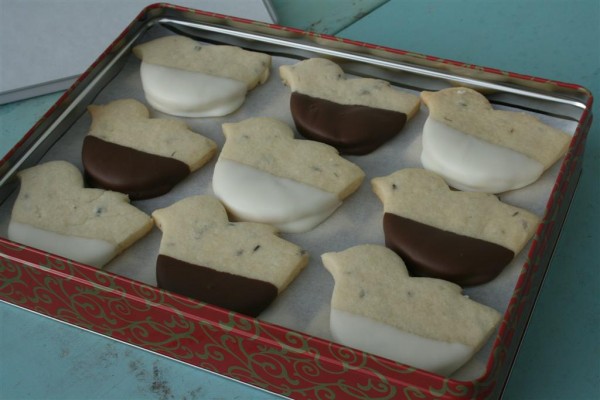
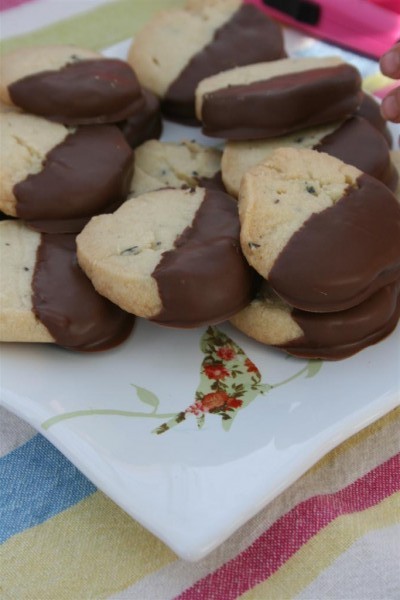
On a long sheet of waxed paper, pat and form the dough into a log that is 12 to 14 inches long.  Carefully roll up, shaping into whatever shape you wish as you roll.  Note:  for shapes like the bird cookies pictured above, put dough between two sheets of parchment paper and roll out to 1/4 inch thickness before chilling.  Chill dough for at least 2 hours.  Preheat oven to 325.  Carefully slice dough into 1/4 inch slices, or if you rolled it out, carefully cut dough into shapes using cookie cutters.  Line baking sheet with parchment paper and place cookies in rows with 1 inch of space between each cookie.  Bake for 17 to 18 minutes or until firm and just barely beginning to turn golden brown at edges.  Cool completely.  If desired, dip in chocolate and chill again to set.

Store in airtight container for up to 3 weeks, or freeze (if they last that long, around here they’re gone in minutes!)
Makes 3 to 4 dozen cookies if rolled into log.  If cut with cookie cutters, your yield will depend on the size of your shape.


I hope you love these like we do.  They’re our #1 cookie.
Jennifer

1 16 17 18 19 20 23