Burlap Wreath DIY

My sister came to town unexpectedly last weekend, so I decided a quick craft project was in order.
After bumping into this post recently, I decided to try making my own burlap wreath.
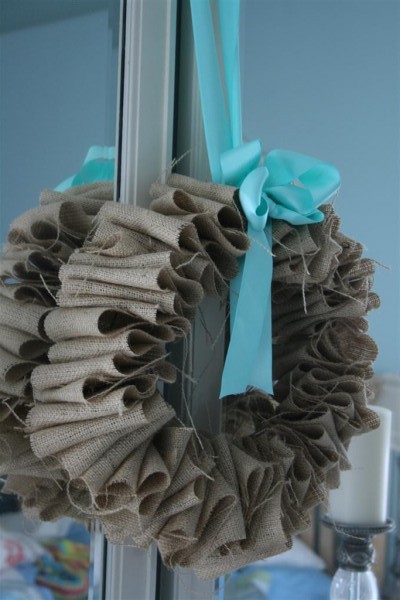
burlap wreath

I bought a yard of burlap and found an old wire hanger, and we were set to go.  (sorry about the lighting, we made these late at night.)
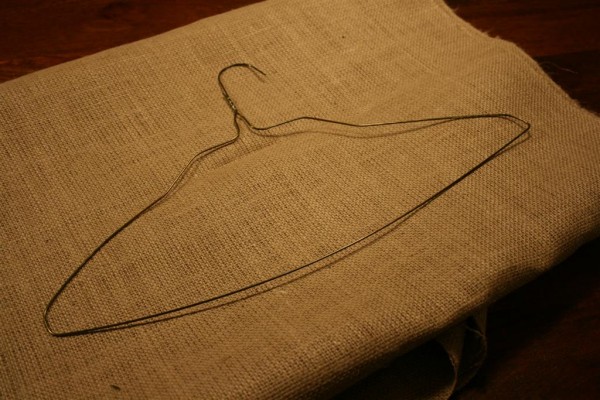
burlap and hanger

Open the hanger and shape it into a circle.
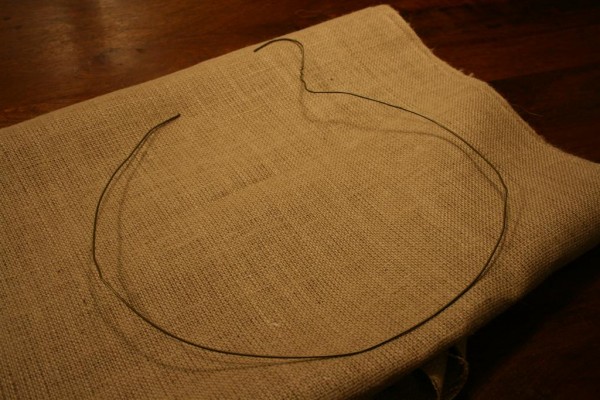

Next we cut the burlap into 4 inch strips.
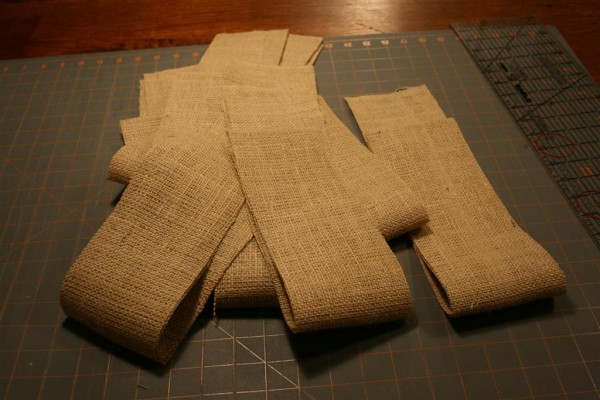
strips of burlap

Then we just started folding the burlap back and forth….
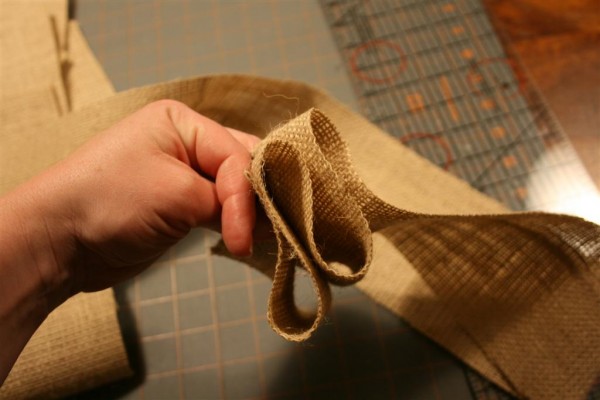

and poking one end of the hanger through the middle.
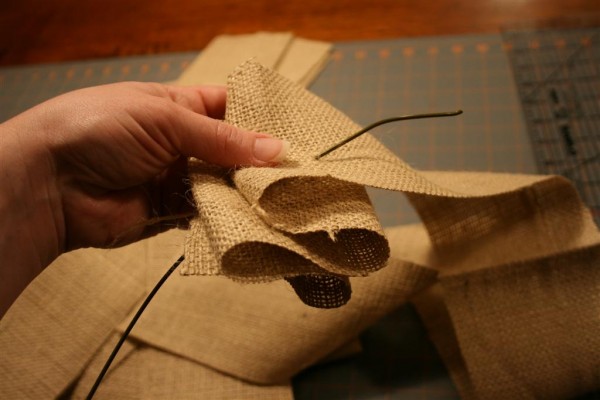

Continue doing this until you’ve used every strip of burlap.
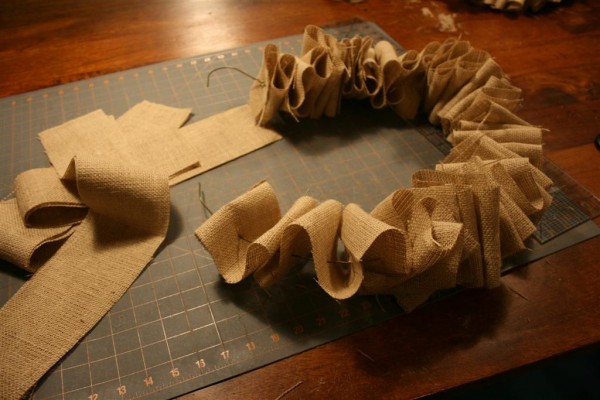

Your last step is to twist the ends of the hanger to close the wreath.
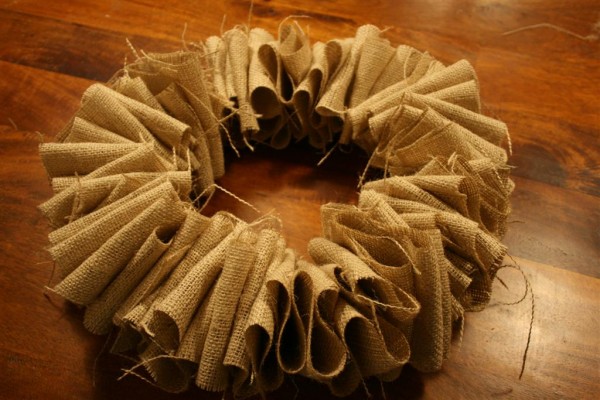
burlap wreath 2

Lessons learned:
I probably should have made the wreath even smaller, because when I picked it up the burlap seemed to slide down and make the wreath seem bottom heavy.  Either that, or more than 1 yard of burlap should have been used.

We got around this by simply taking small pieces of scotch tape and taping them around the hanger at intervals to prevent the burlap from sliding.  This allowed the burlap to stay evenly spread around the entire wreath.

Finished product:
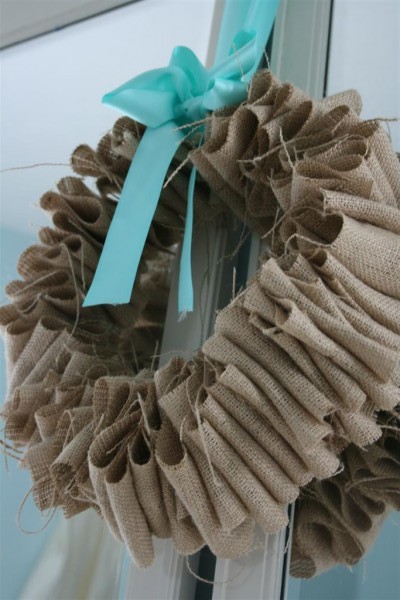
burlap wreath 3

Total cost:  $2.47 for one yard of burlap at Wal Mart.  Total time:  about 30 minutes.
Placemat to Pillow: DIY

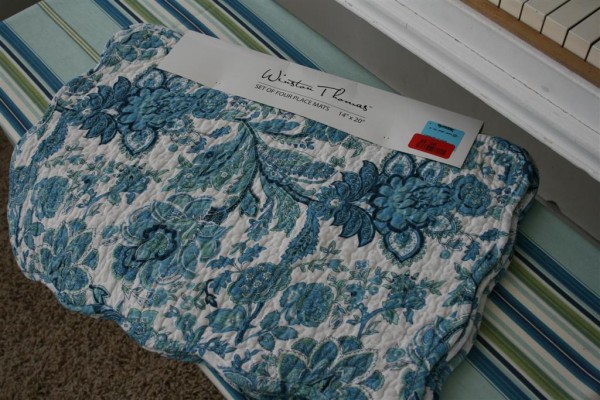
I was on the hunt for pillows with some turquoise in them when I found these placemats on clearance at TJ Maxx.

blue placemats

I liked the colors and the pattern but I didn’t need more table linens.  And then I thought:  wait, there are four of them.  Why not make pillows with them?!  So they came home with me.

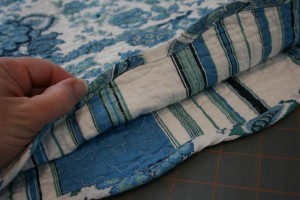
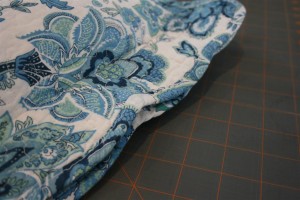
I already had some 11 by 14 inch pillow forms in my basement.  They were the perfect size.  I didn’t want to cut up the placemats because the seams would be so thick.  I also liked the back and the gentle scallop around the edges.

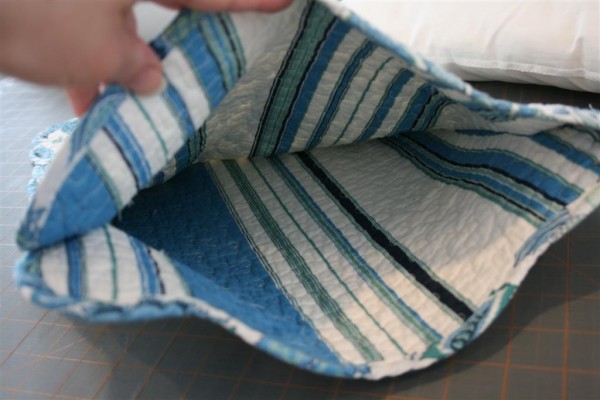
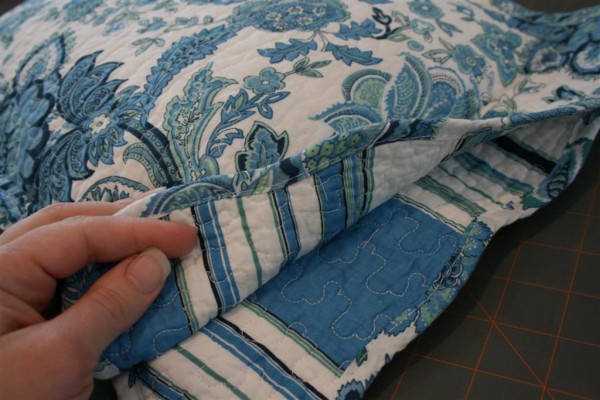
blue stripes on placemats


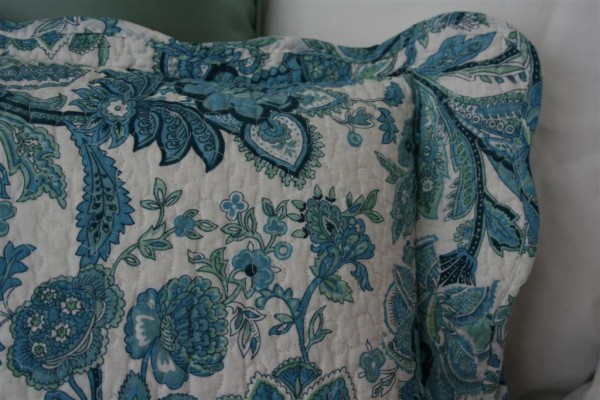
scalloped edge placemat

So I decided to just sew the pillow inside the two placemats.  If I ever get tired of them, I’ll just unpick the seams and have placemats again.  It was the easiest pillow I ever made (as in, 5 minutes per pillow.)


I figured out where on the placemats I needed my seams to be so the opening would be the right size.  Then I simply sewed the placemats together on three sides, leaving one of the narrow ends open.

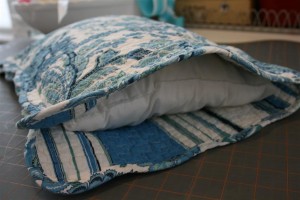
opening in pillow

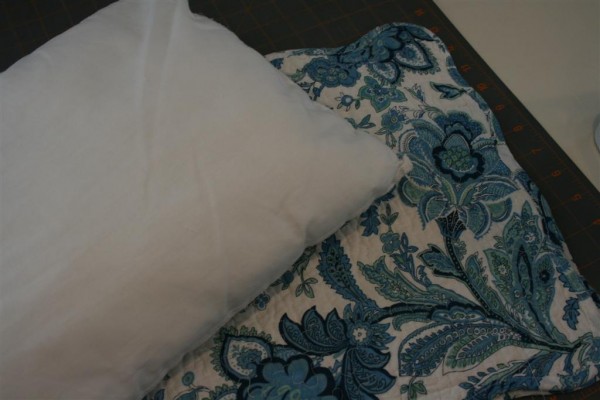
Then I simply stuffed the pillow form inside.


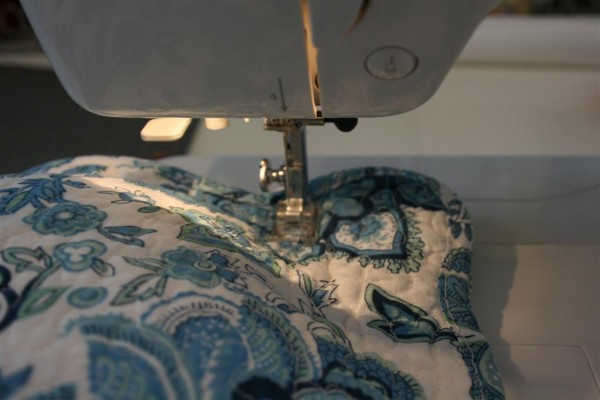
I carefully sewed the opening shut, making sure I didn’t sew the pillow form into the seam at all.


That’s it!  Done.

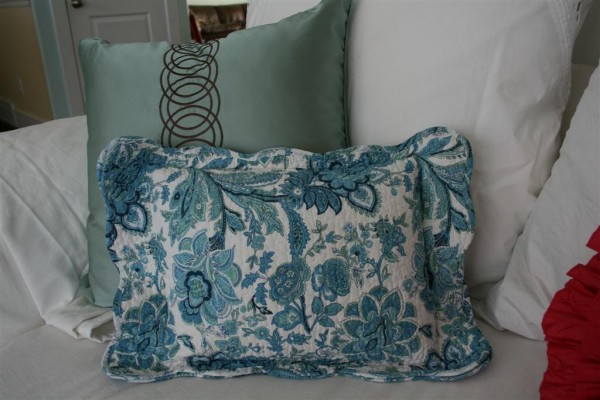
blue placemat pillow

Nobody would ever guess that these were clearanced placemats.  They’re perfect for my space, and they have a nice shape to them BECAUSE of the floppy scalloped edges all around.

placemat pillow

The fact that you can see the striped back if you peek only adds to the charm.


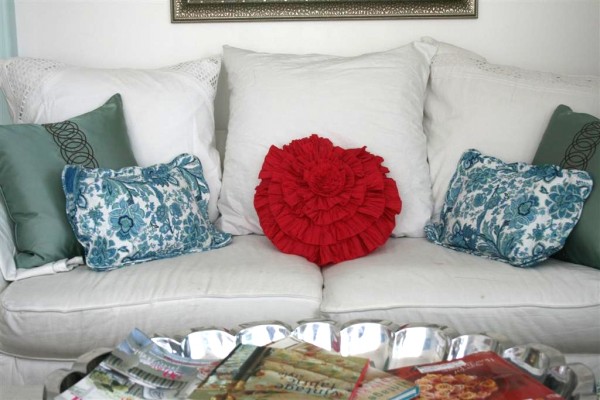
You can’t beat $4.00 per pillow, either!  As far as I’m concerned, it’s a success all around.  It was inexpensive, I used materials on hand (pillow inserts), it was quick (10 minutes) and I was able to be creative.   My new pillows are now at home in this room .

white couch with pillows

Try it sometime!  They’re fun and easy to make.
This post is linked to Kimba’s DIY Day .

Mirror transformation: Before and After

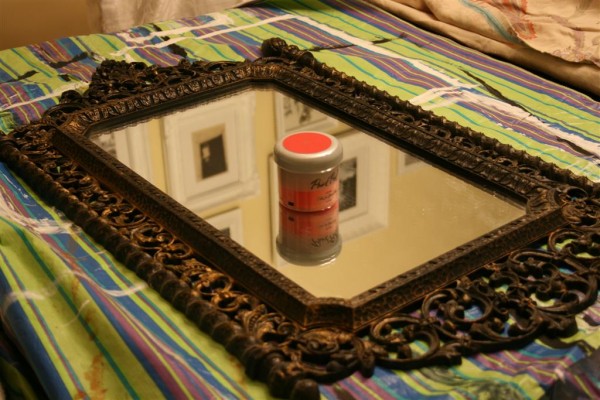
Three years ago I purchased this vintage mirror at a yard sale, intending to use it in my girls’ room when our house was completed.  Well, we moved in, and it just didn’t fit the space.  So it’s sat in my basement for the last 2.5 years.  Until this week.  Here’s the before:

vintage mirror:  before

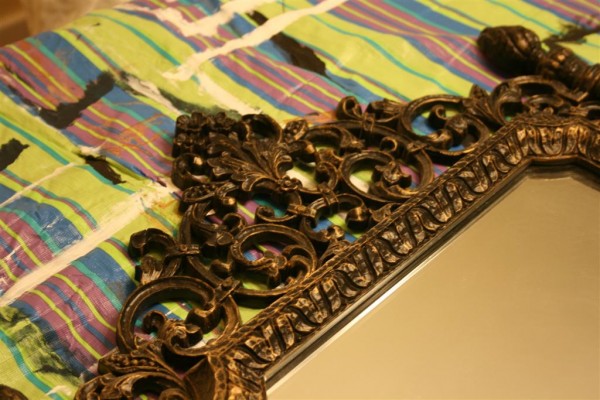
A close up of some of the detail.

vintage mirror

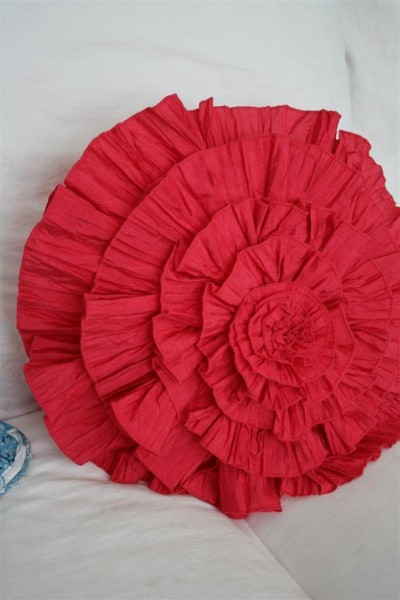
Go ahead and say it:  totally gaudy and overdone.  But I always pictured it painted in a deep pink.  Enter this pillow:

pink ruffle pillow

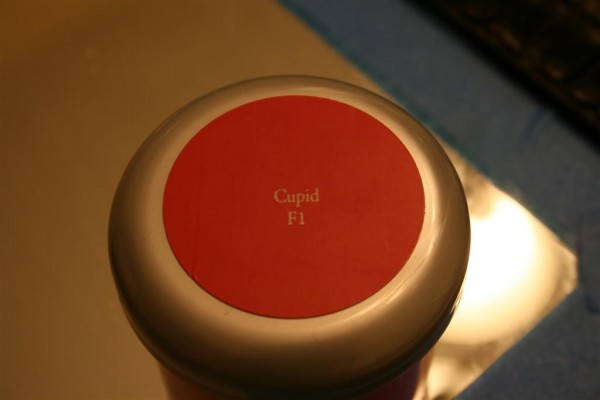
I ran to Ace Hardware and picked up one of their little sample sized paints, called Paint Pods, in a color to match the pillow.  The one I chose was called cupid.  I’d always intended to spray paint this mirror for better coverage, but I couldn’t find a pink in the right shade.  So I settled for the headache of painting it by hand and having the coverage not be as good.

paint color: cupid

Anyway, 3 coats of paint later, here’s the final product:

vintage mirror pink

I must say, I’m thrilled with the result!  I really love it.  Now it’s a formal sort of mirror, but the pink makes it fun and happy, not to be taken too seriously.  Perfect!

1 4 5 6 7 8 9