Lone Star Tree Skirt Sew Along: Quilting

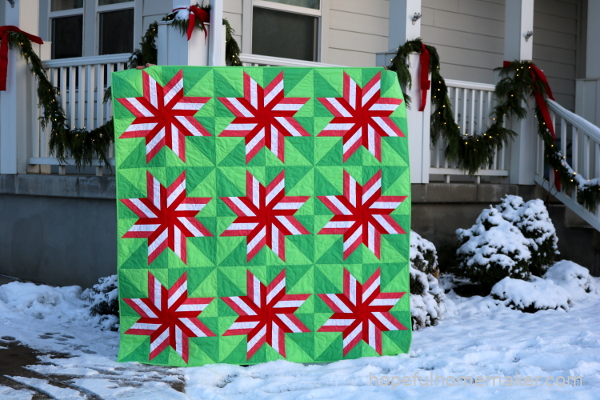
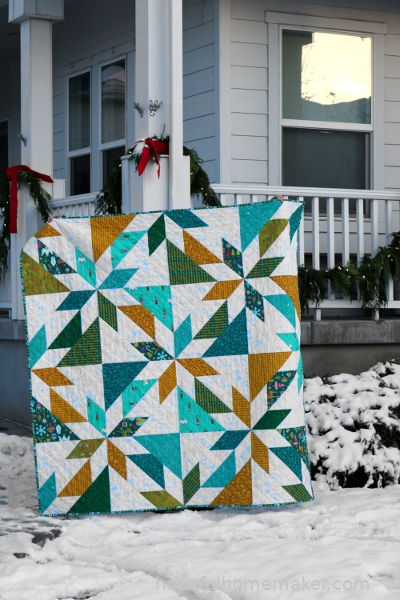
,Welcome back for week four of the Lone Star Tree Skirt Sew Along!  Here we are in the last week of October and we’re already so close to finishing our tree skirts!  It’s a fairly fast project and there is plenty of time to make one before the Christmas rush.  Please join us!  The tree skirt pattern is available here .

Last week
we finished piecing together our lone stars and we have a finished quilt top.  This week we will quilt them.

Today’s video is a little different.  Instead of a demonstration, I’m just talking about how I quilted both of my tree skirts.  You can do something similar, or use your own idea.  I encourage you to have fun with this and stretch a little.  You can also have yours professionally quilted, but it will probably delay your finish – and remember we will be cutting right into the center of the finished quilt!  That was good incentive for me to be brave and quilt my own.

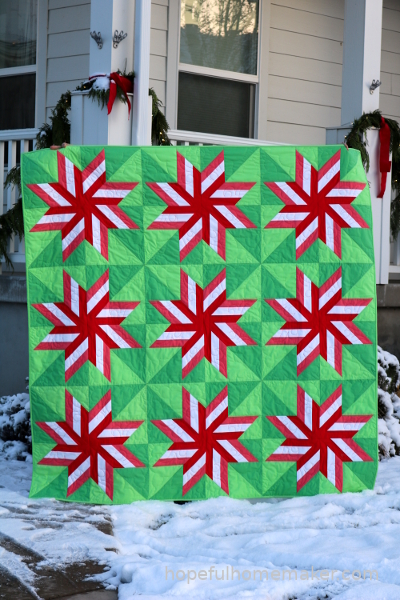
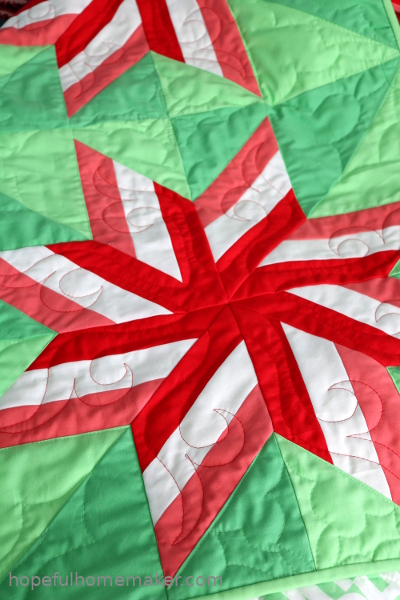
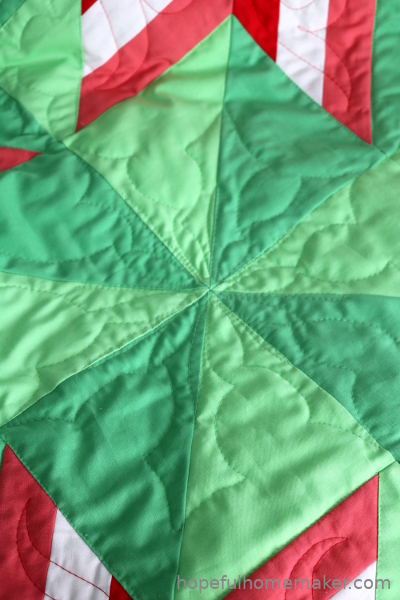
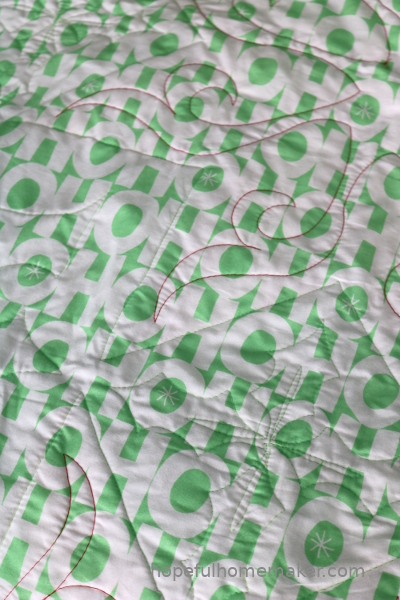
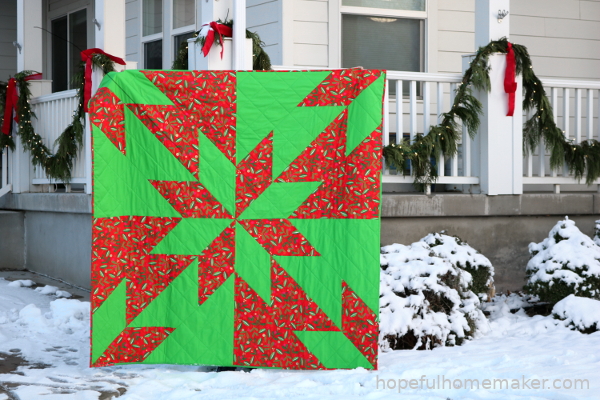
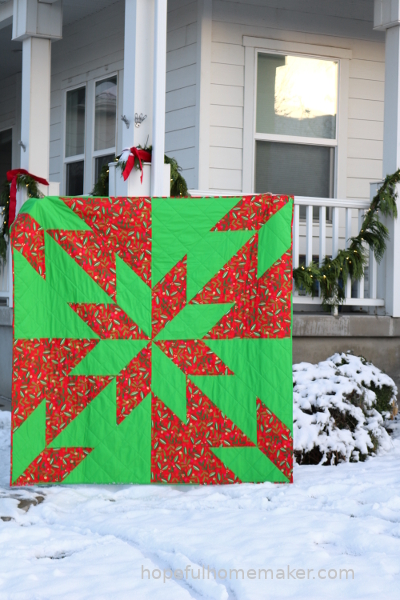
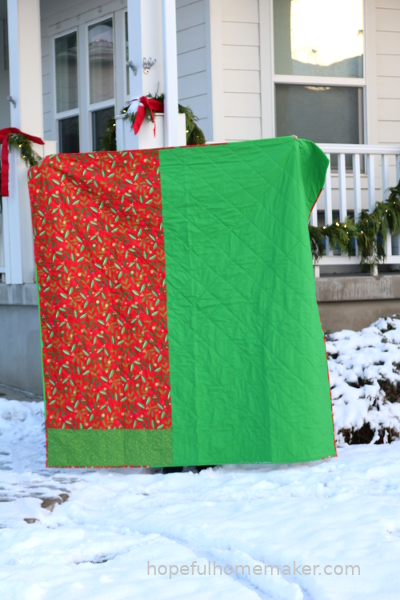
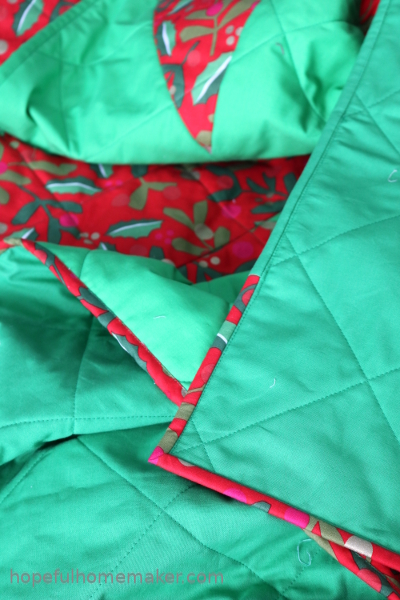
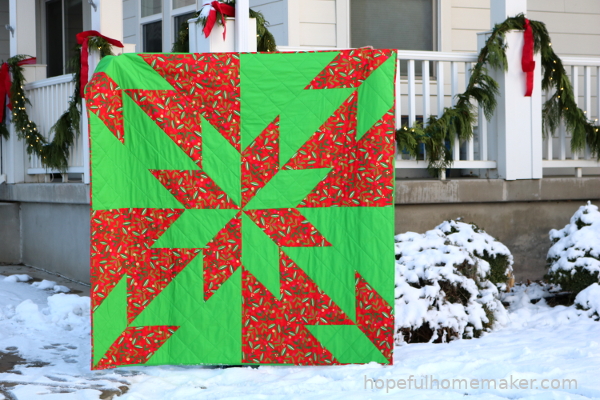
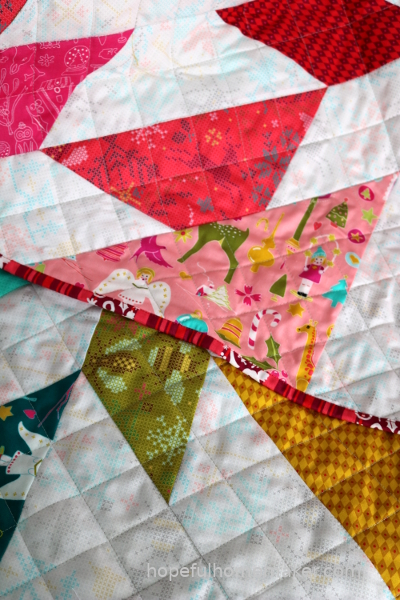
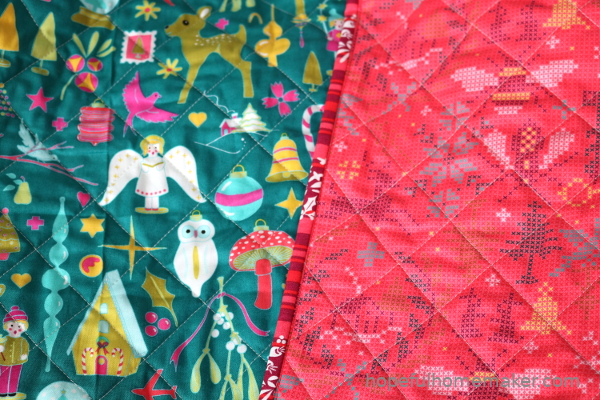
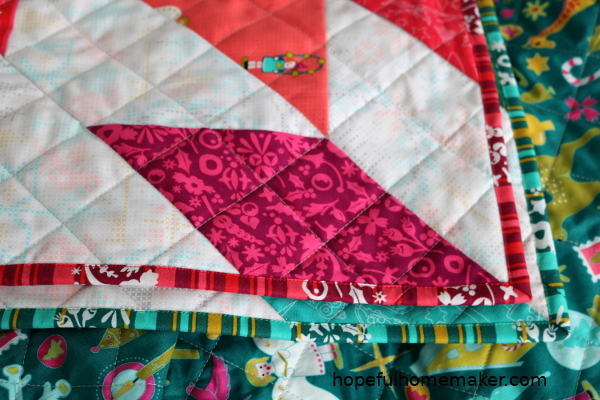
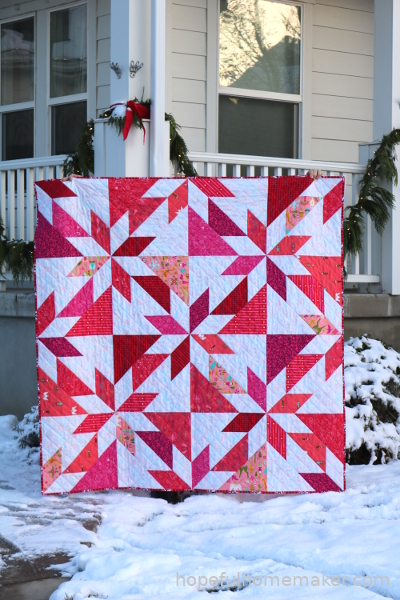
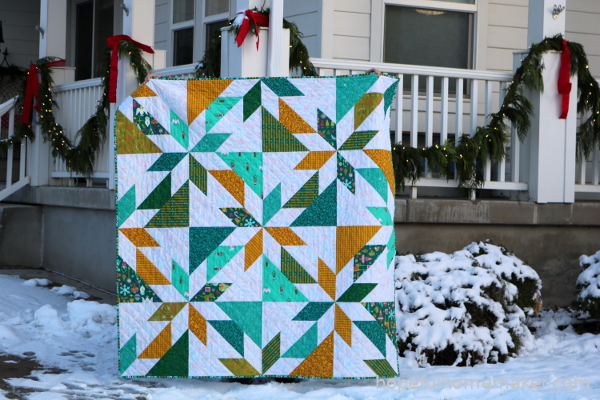
https://youtu.be/5CJjr80Age4 In case you want another look at the quilting on mine, below are a few photos of my tree skirts for you to reference.  Remember, there is no right or wrong – have fun!

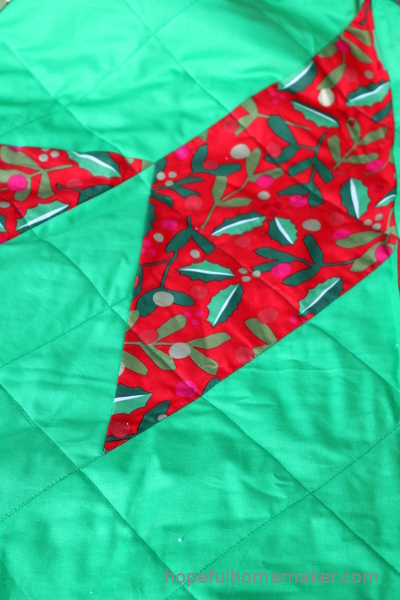
First up, I quilted one large feather in each of the eight diamonds of my star.


In the background I switched to a red thread and simply quilted around the pretty mistletoe print on my fabric.


I was nervous about both patterns but they look nice together and I’m satisfied with how it turned out.


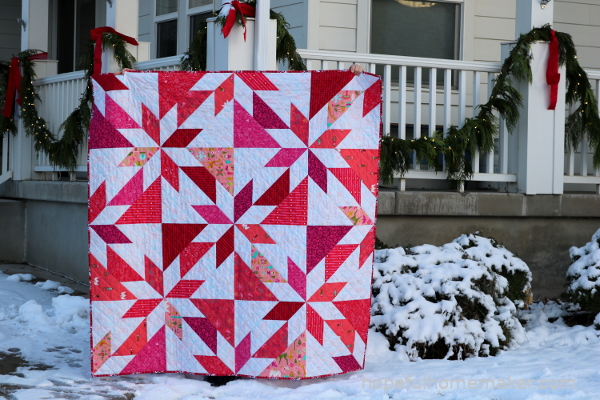
For my original tree skirt, I quilted the diamonds in the star with a traditional orange peel design.


The backtround I quilted in straight lines with my walking foot.  To see more photos of my original tree skirt and the quilting on it, click here .


That’s it for this week!  Have fun quilting your lone star, and get ready to be brave next week when we turn them into tree skirts.

We will meet back here next Monday for week five of the sew along.  Please share your progress with the hashtags #lonestartreeskirt and #hopefulhomemaker because I love seeing them!

Remember that all posts for this project can be found on the Lone Star Tree Skirt Sew Along page.

Have a great week, and happy sewing!
Jennifer

Raspberry Applique Blocks Assembled

Early this year I started a new applique project, Raspberry Applique, a monthly block of the month pattern available at Raspberry Spool .  Crystal created each block based on different flowers and bushes indigenous to Australia.  I wanted to use applique in a new way, or with a new style, so this was a great fit.


I purchased the pattern and stalled instead of starting.  Unable to decide on fabrics, I fell behind for several months.  Then one day I was looking through my Amy Butler fabrics, thinking sadly of her retirement from fabric design, when the idea to use her fabrics in this project struck me.


This quilt is an education in layering prints and designs in a bold and busy way.  I would like to get really good at it, and I deliberated carefully over my fabric choices for each block.  Some turned out perfect; others I would change.

But I’m learning.

I like to have a new goal with each quilt I make, and using busy prints together successfully is my goal with this quilt.


Some blocks have great contrast while others blend together; I tried to balance all of this both in my blocks and in the layout.


After completing all nine blocks I decided that there will be no solids in this quilt, and the only white will come in the prints I use.  I want a bright, lavish quilt.


To accomplish my goal I used Kaffe polka dots in a different color for sashing around each block.  Knowing the friendship between Amy and Kaffe, and how his designs influenced her artwork, it felt appropriate to introduce the dots.  It also helps add more color and whimsy to the quilt.


This is where the raspberry applique pattern ends and my own design will begin.  I will turn this project on point and design four large corner pieces to frame the applique blocks.  It’s going to be big and bold and gorgeous, even though I have no idea yet what I’ll do!  I’m excited to explore the unfolding of this quilt in coming months.


For now, life’s a little crazy and I need a guest room – so no space for chaotic sewing and fabric everywhere.  It will have to wait, but it does beckon me every time I walk past…

This is a design project I can’t wait to get back to!

Baby Girl Color Stack Quilt

The Color Stack Quilt pattern is my current go-to pattern for making baby quilts as gifts.  The quick cutting, piecing and quilting are a good fit for my busy schedule, and I especially love the design.  I also love exploring color and fabric combinations with this pattern.  When a dear friend announced another grandbaby on the way, my first thought was of making a baby girl color stack quilt.


I pictured neutrals with soft pastels and started pulling fabrics.  The stack was so pretty that I couldn’t resist photos next to my peonies – the perfect combination.


The quilt top is exactly what I hoped it would be:  soft and subtle but full of color and movement.


I love the feeling of looking at a quilt top and seeing favorite designers, prints and colors all represented.  This baby girl color stack quilt features prints from 2 dozen different designers whose work I admire.


I quilted the baby quilt with straight lines along the seams for no distractions and a really soft quilt.


I hope this quilt will be well used and bring warmth and comfort to a tiny little one.


The backing is a Heather Ross print I’ve been saving, and the binding is an Art Gallery print.


If you’re looking for a baby quilt pattern that only requires a few hours of work, has a modern feel that works for boys or girls, can be made with all sorts of fabrics, and is fun to sew, I hope you’ll check out the Baby Color Stack quilt pattern .  Since it includes instructions for both baby and throw sizes, you may end up making one for yourself too!


Happy Sewing, -Jennifer

1 52 53 54 55 56 213